
Sun Blade 150 Setup and OS Install
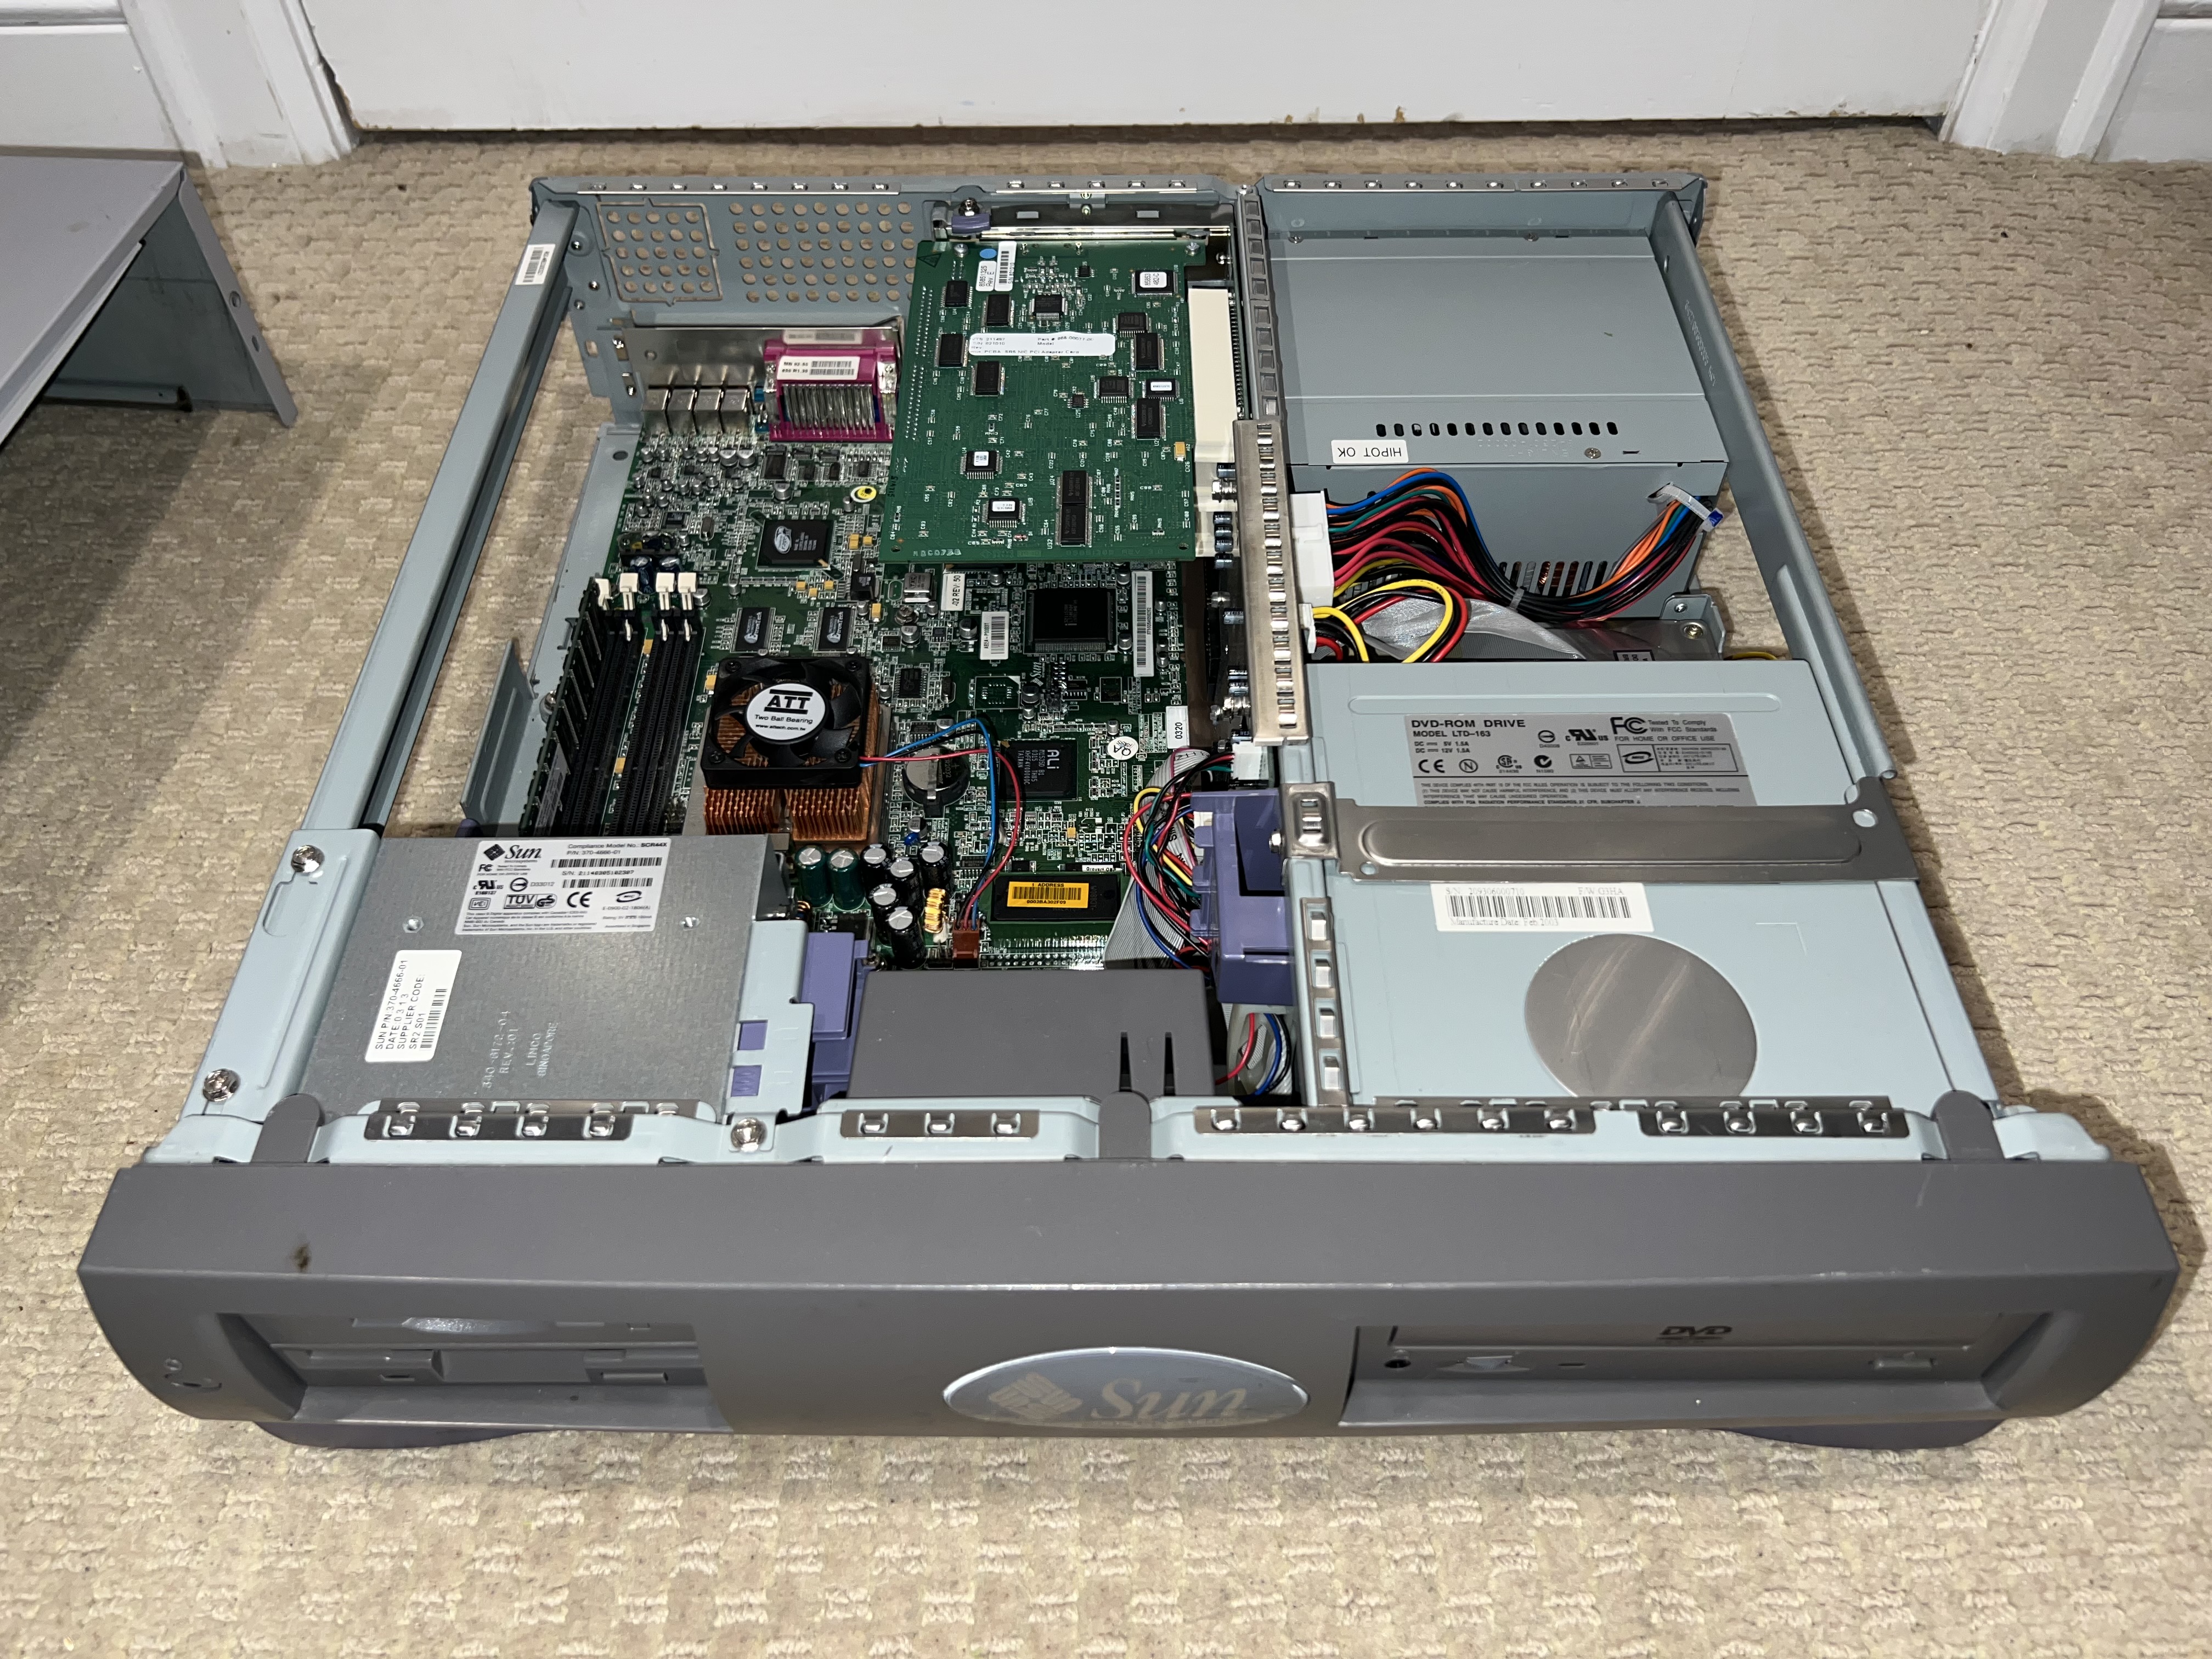
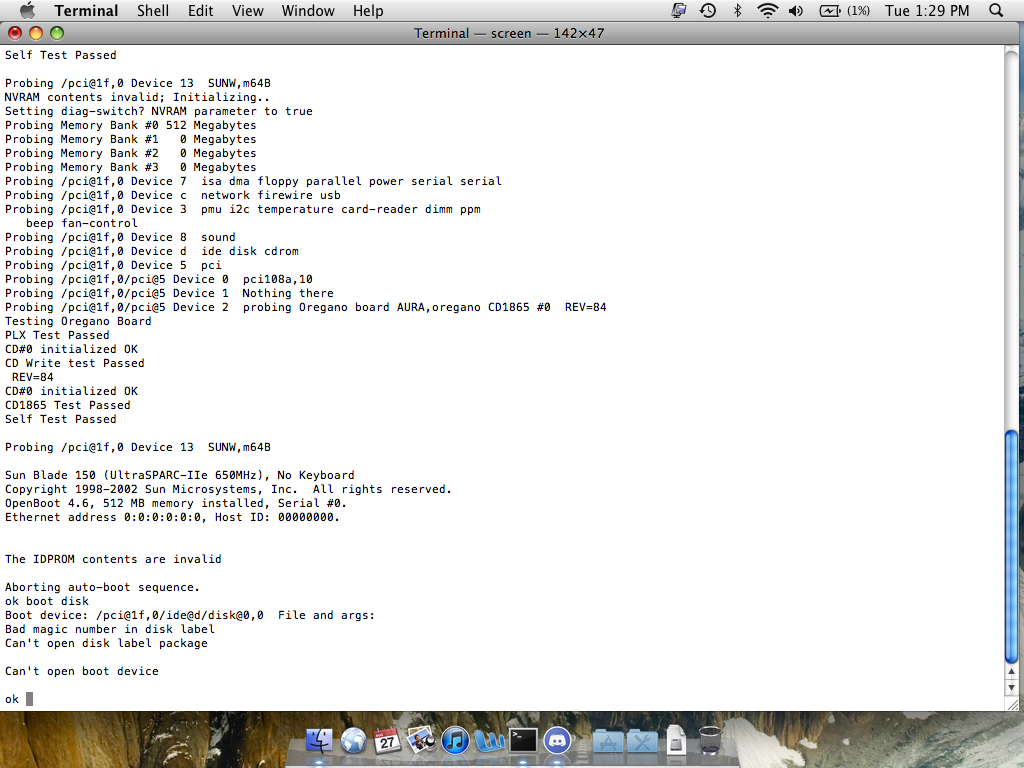
I’ve had this Sun Blade 150 workstation in my possession for a few months, having gotten it from a friend who was offloading some tech he no longer used nor wanted. Today, I finally decided to get it set up and fully operational. My first attempt at powering this machine on (shortly after I got it) resulted in the monitor coming on for a couple seconds, displaying an error saying there was no keyboard attached, and then shutting off. I then opened it up, upgraded the RAM, and promptly forgot about it for several months. When I attempted to turn the machine on today, I got nothing out of it. Hooking up to it via serial, I got a “RED State Exception” , which apparently points to a very serious error with the system. After taking it apart and removing all but one stick of RAM, it began to start up and work. I messed around in Open Firmware for a bit, and deduced that while it was recognizing the IDE hard drive that was installed, it was seemingly wiped.
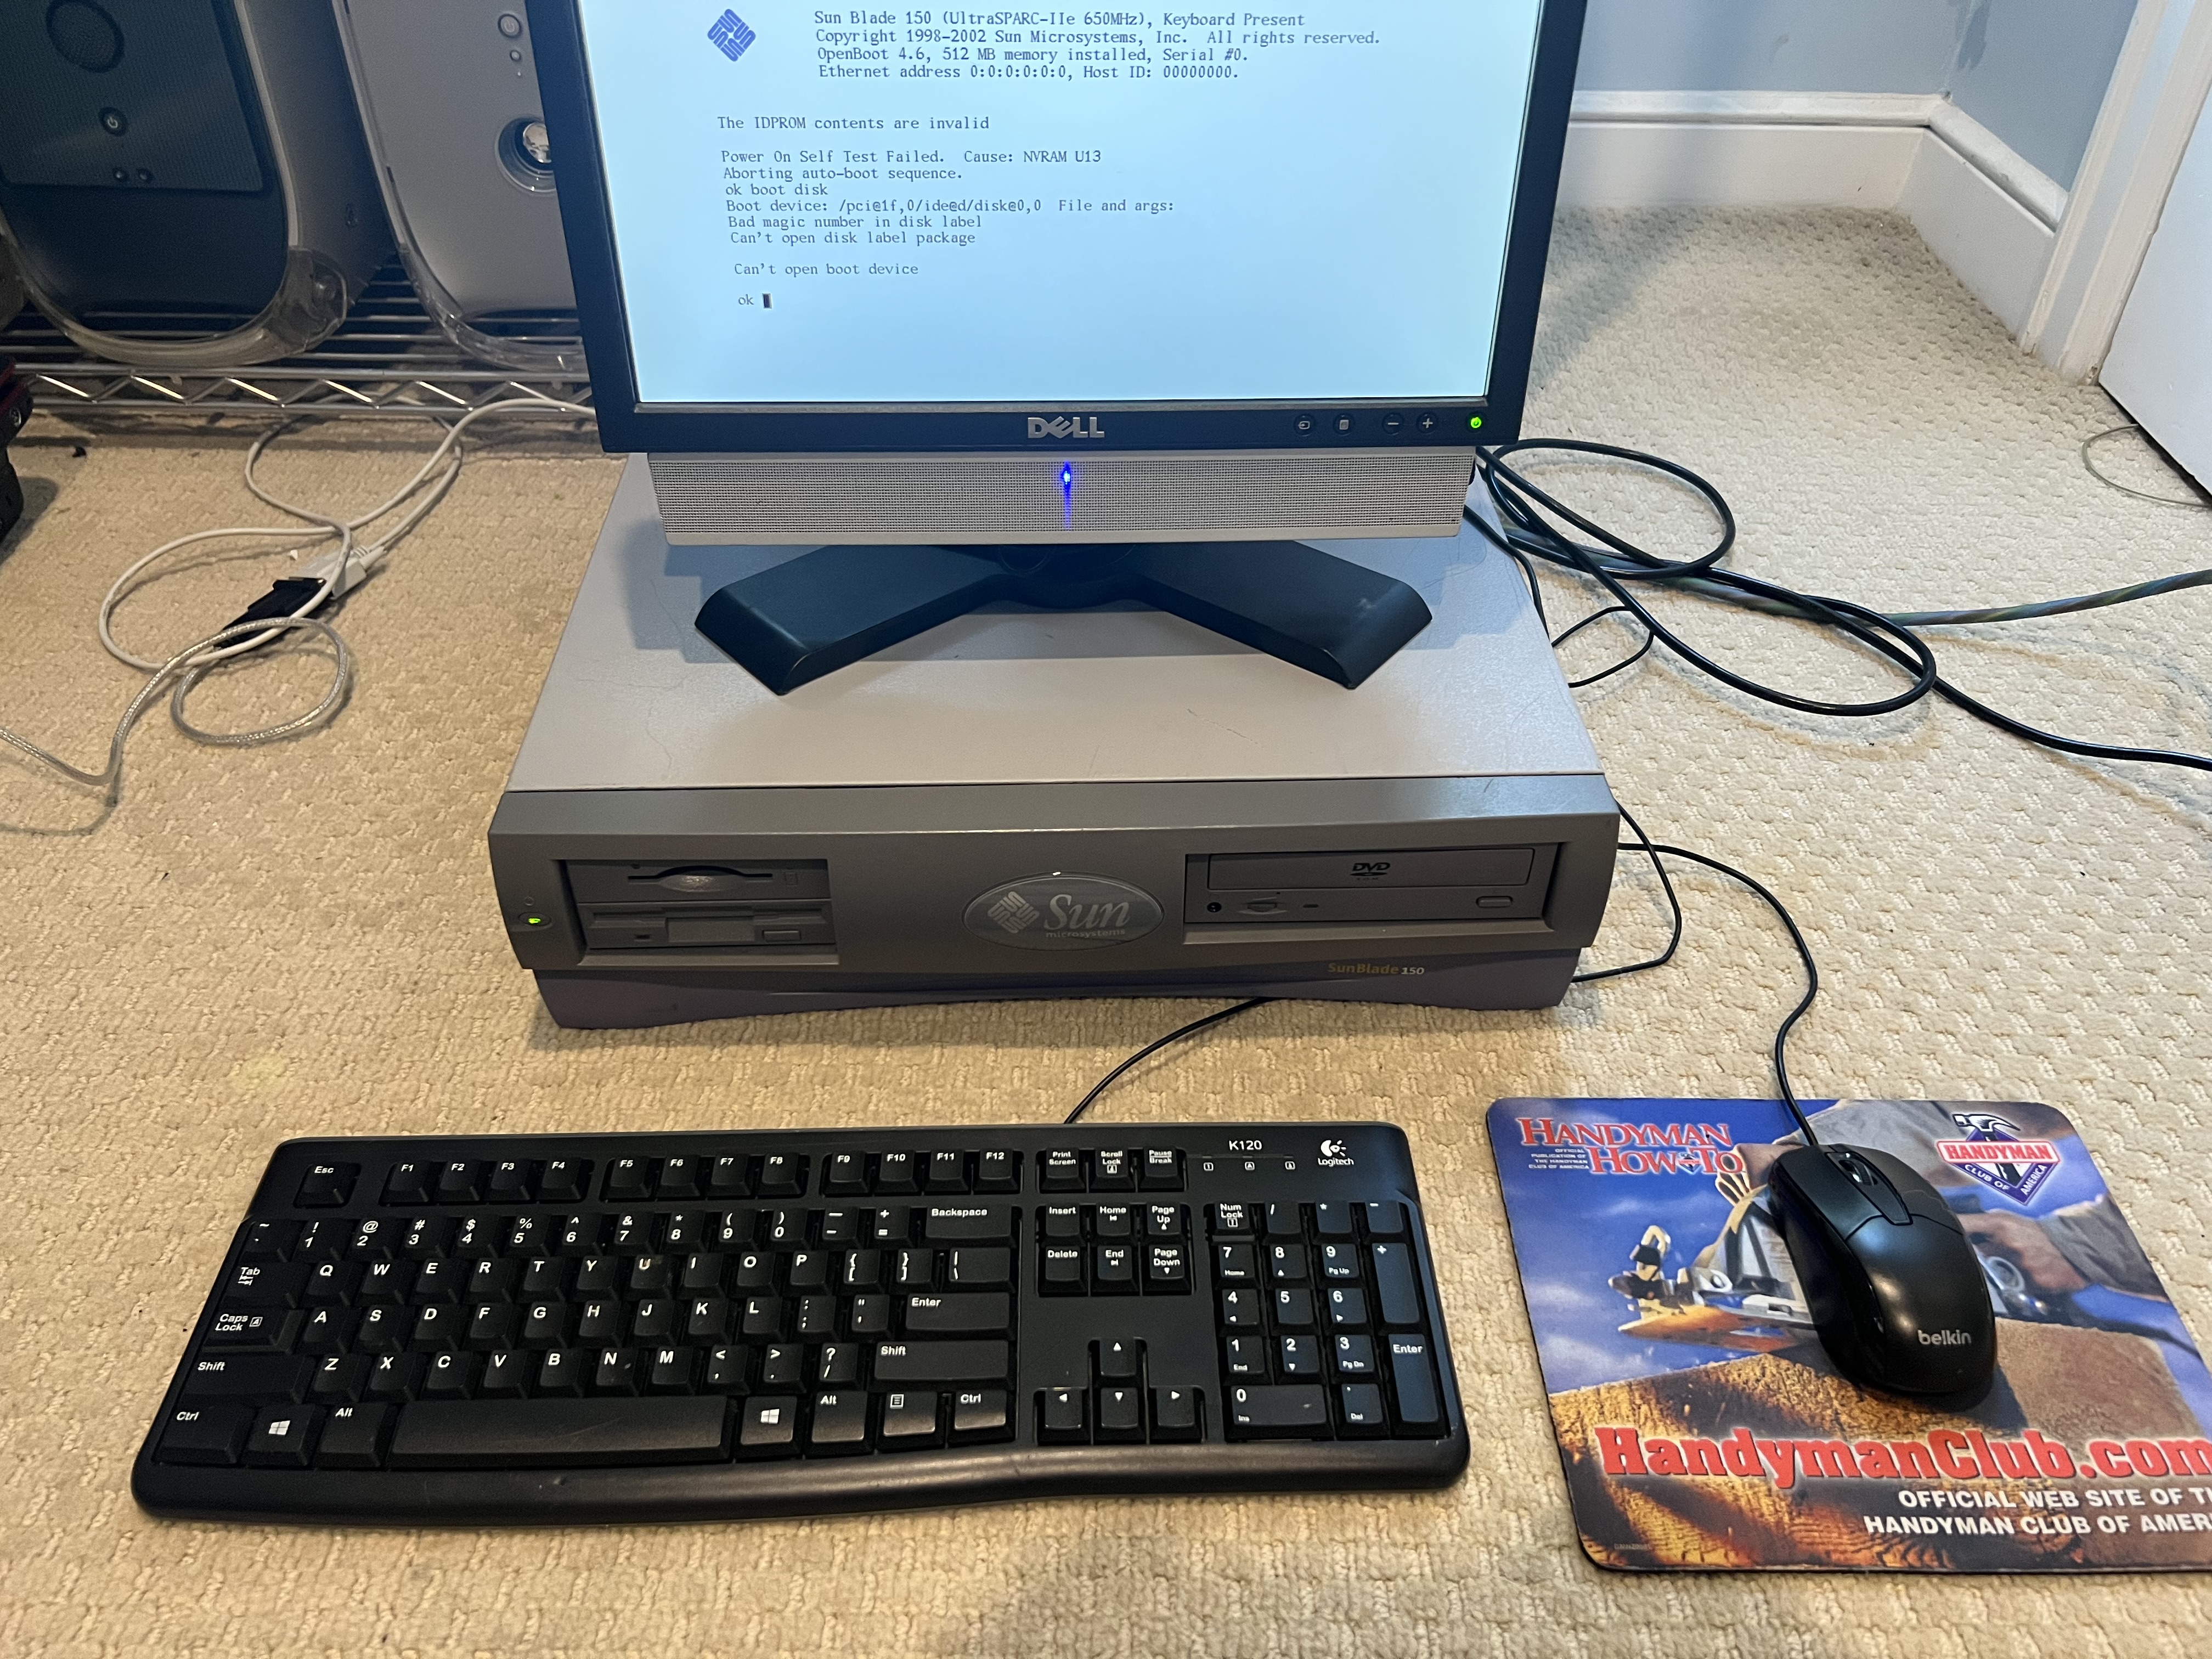
The machine was still unable to see the keyboard, however. I tried plugging four different keyboards into all four USB ports, and still had this error. After a little more messing around, I learned that these Suns have trouble recognizing keyboards with USB hubs, and just having an incompatible keyboard plugged in will stop a compatible one from working. I eventually found a keyboard that did work, a simple Logitech K120.
With that figured out, I went to install an operating system. My first thought was to try OpenSolaris, a community continuation of Solaris 9, the version that would have come with this computer new in 2003. I went ahead and downloaded the latest release, and then burned “osol-0906-ai-sparc.iso” to a CD, not reading the filename too carefully. When I put this CD in the drive and attempted to boot it, I was greeted with an error basically saying it could not find a partition to boot from. After doing a little research, I learned that the “ai” denotes “automated installer,” meaning the image is not designed to be bootable, rather installed over the network from another OpenSolaris server. This reminds me of scissors that come in blister packs that you need scissors to open. So I abandoned this idea for now, and decided to just install regular Solaris. I was shocked to see that Oracle still provides downloads for the last released version of Solaris 10 (from 2013.) I went ahead and downloaded that and burned it to a DVD.
(As a side note, these square LCD Dell monitors are excellent for using with retro computers, for a few reasons. They tend to have both DVI and VGA, which gives you a great range of compatibility, they have soundbars that attach right to the bottom and are powered by the monitor’s passthrough, and they support sync-on-green, which means they will work with a cheap 13W3 to VGA adapter for older Unix workstations. This particular one is a model P170S, but there are a ton of other models of a similar vintage that will work just as well.)
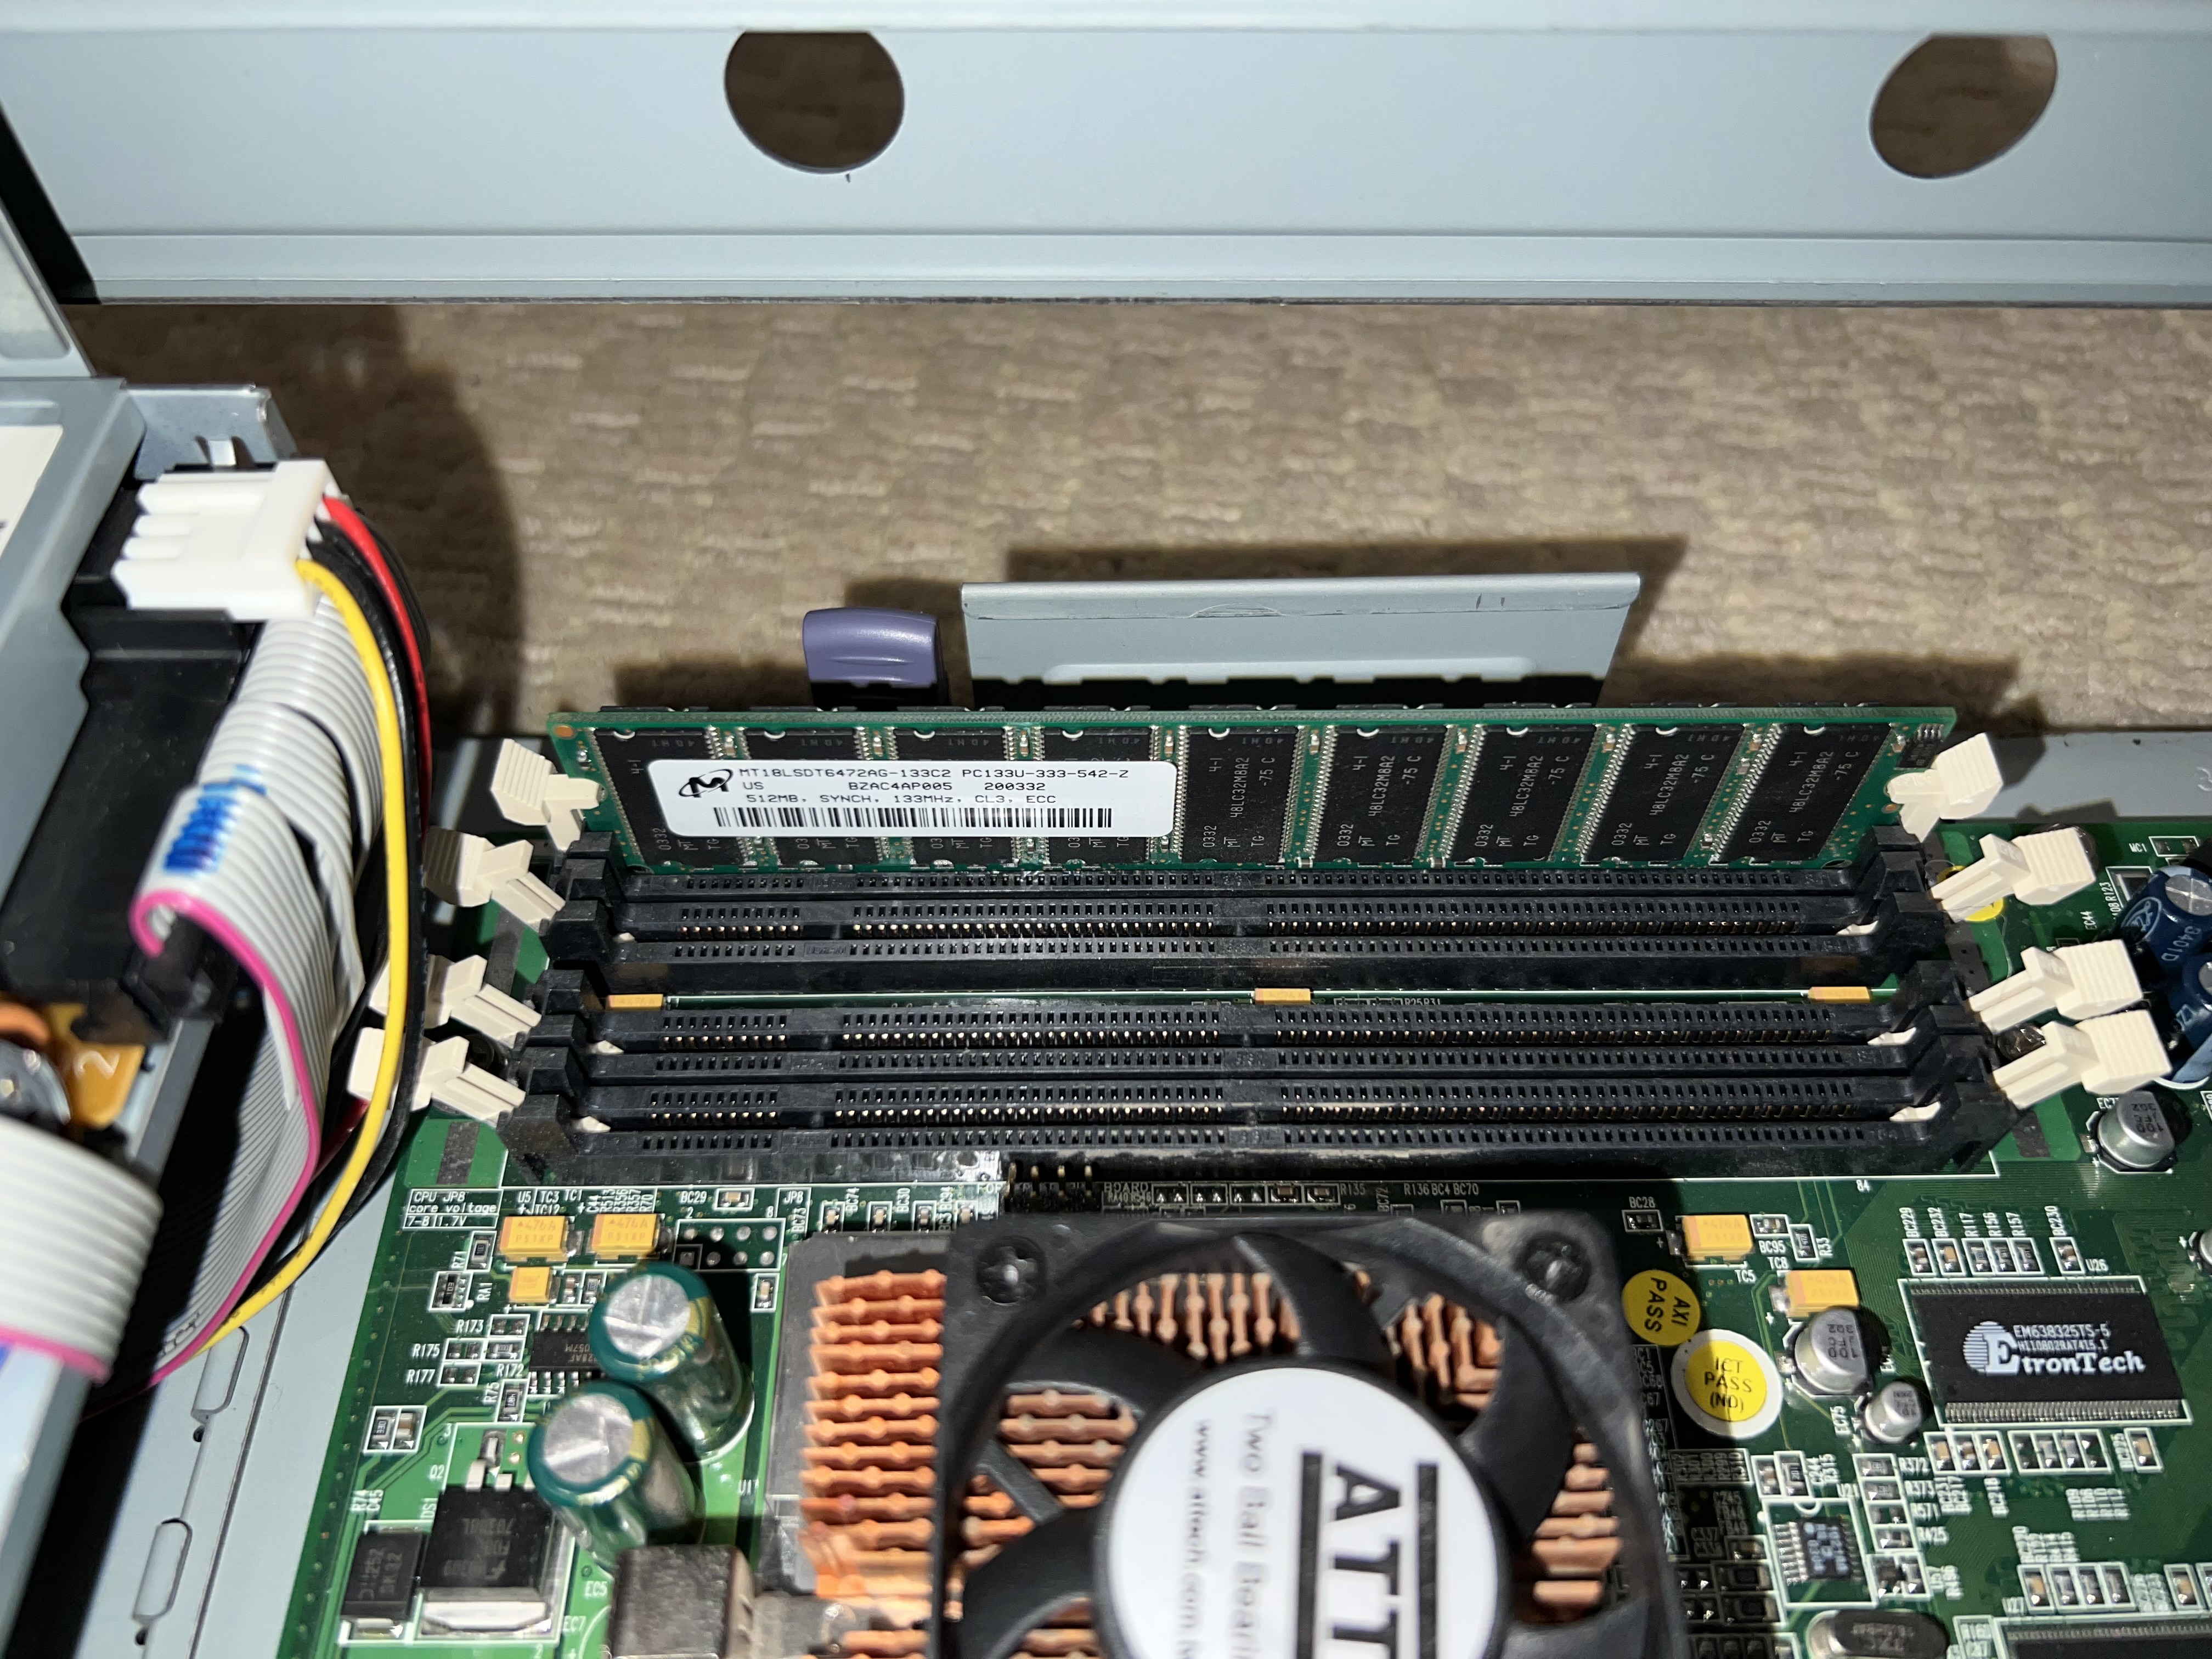
Finally, progress! I waited a while for it to load everything into RAM, after which a warning appeared stating that the graphical install required 768MB of RAM, while I only had 512MB. I figured this did not bode well for how the OS would actually run on such little RAM, so I decided to try to get more installed once again. It was at this point I realized why my RAM upgrade didn’t work in the first place – the PC133 RAM installed from factory was ECC. This type of RAM is designed for servers and workstations and can correct for memory corruption. Mixing and matching with non-ECC wouldn’t work. To get around this, I tried running the system with just two non-ECC sticks, but that led to the same “RED State Exception.” I resolved to get more ECC RAM later, and put it back together with the original 512MB stick. At this time, I also replaced the coin cell battery on the motherboard, as I had been getting invalid NVRAM errors, likely due to a dead battery resulting in the settings being wiped.
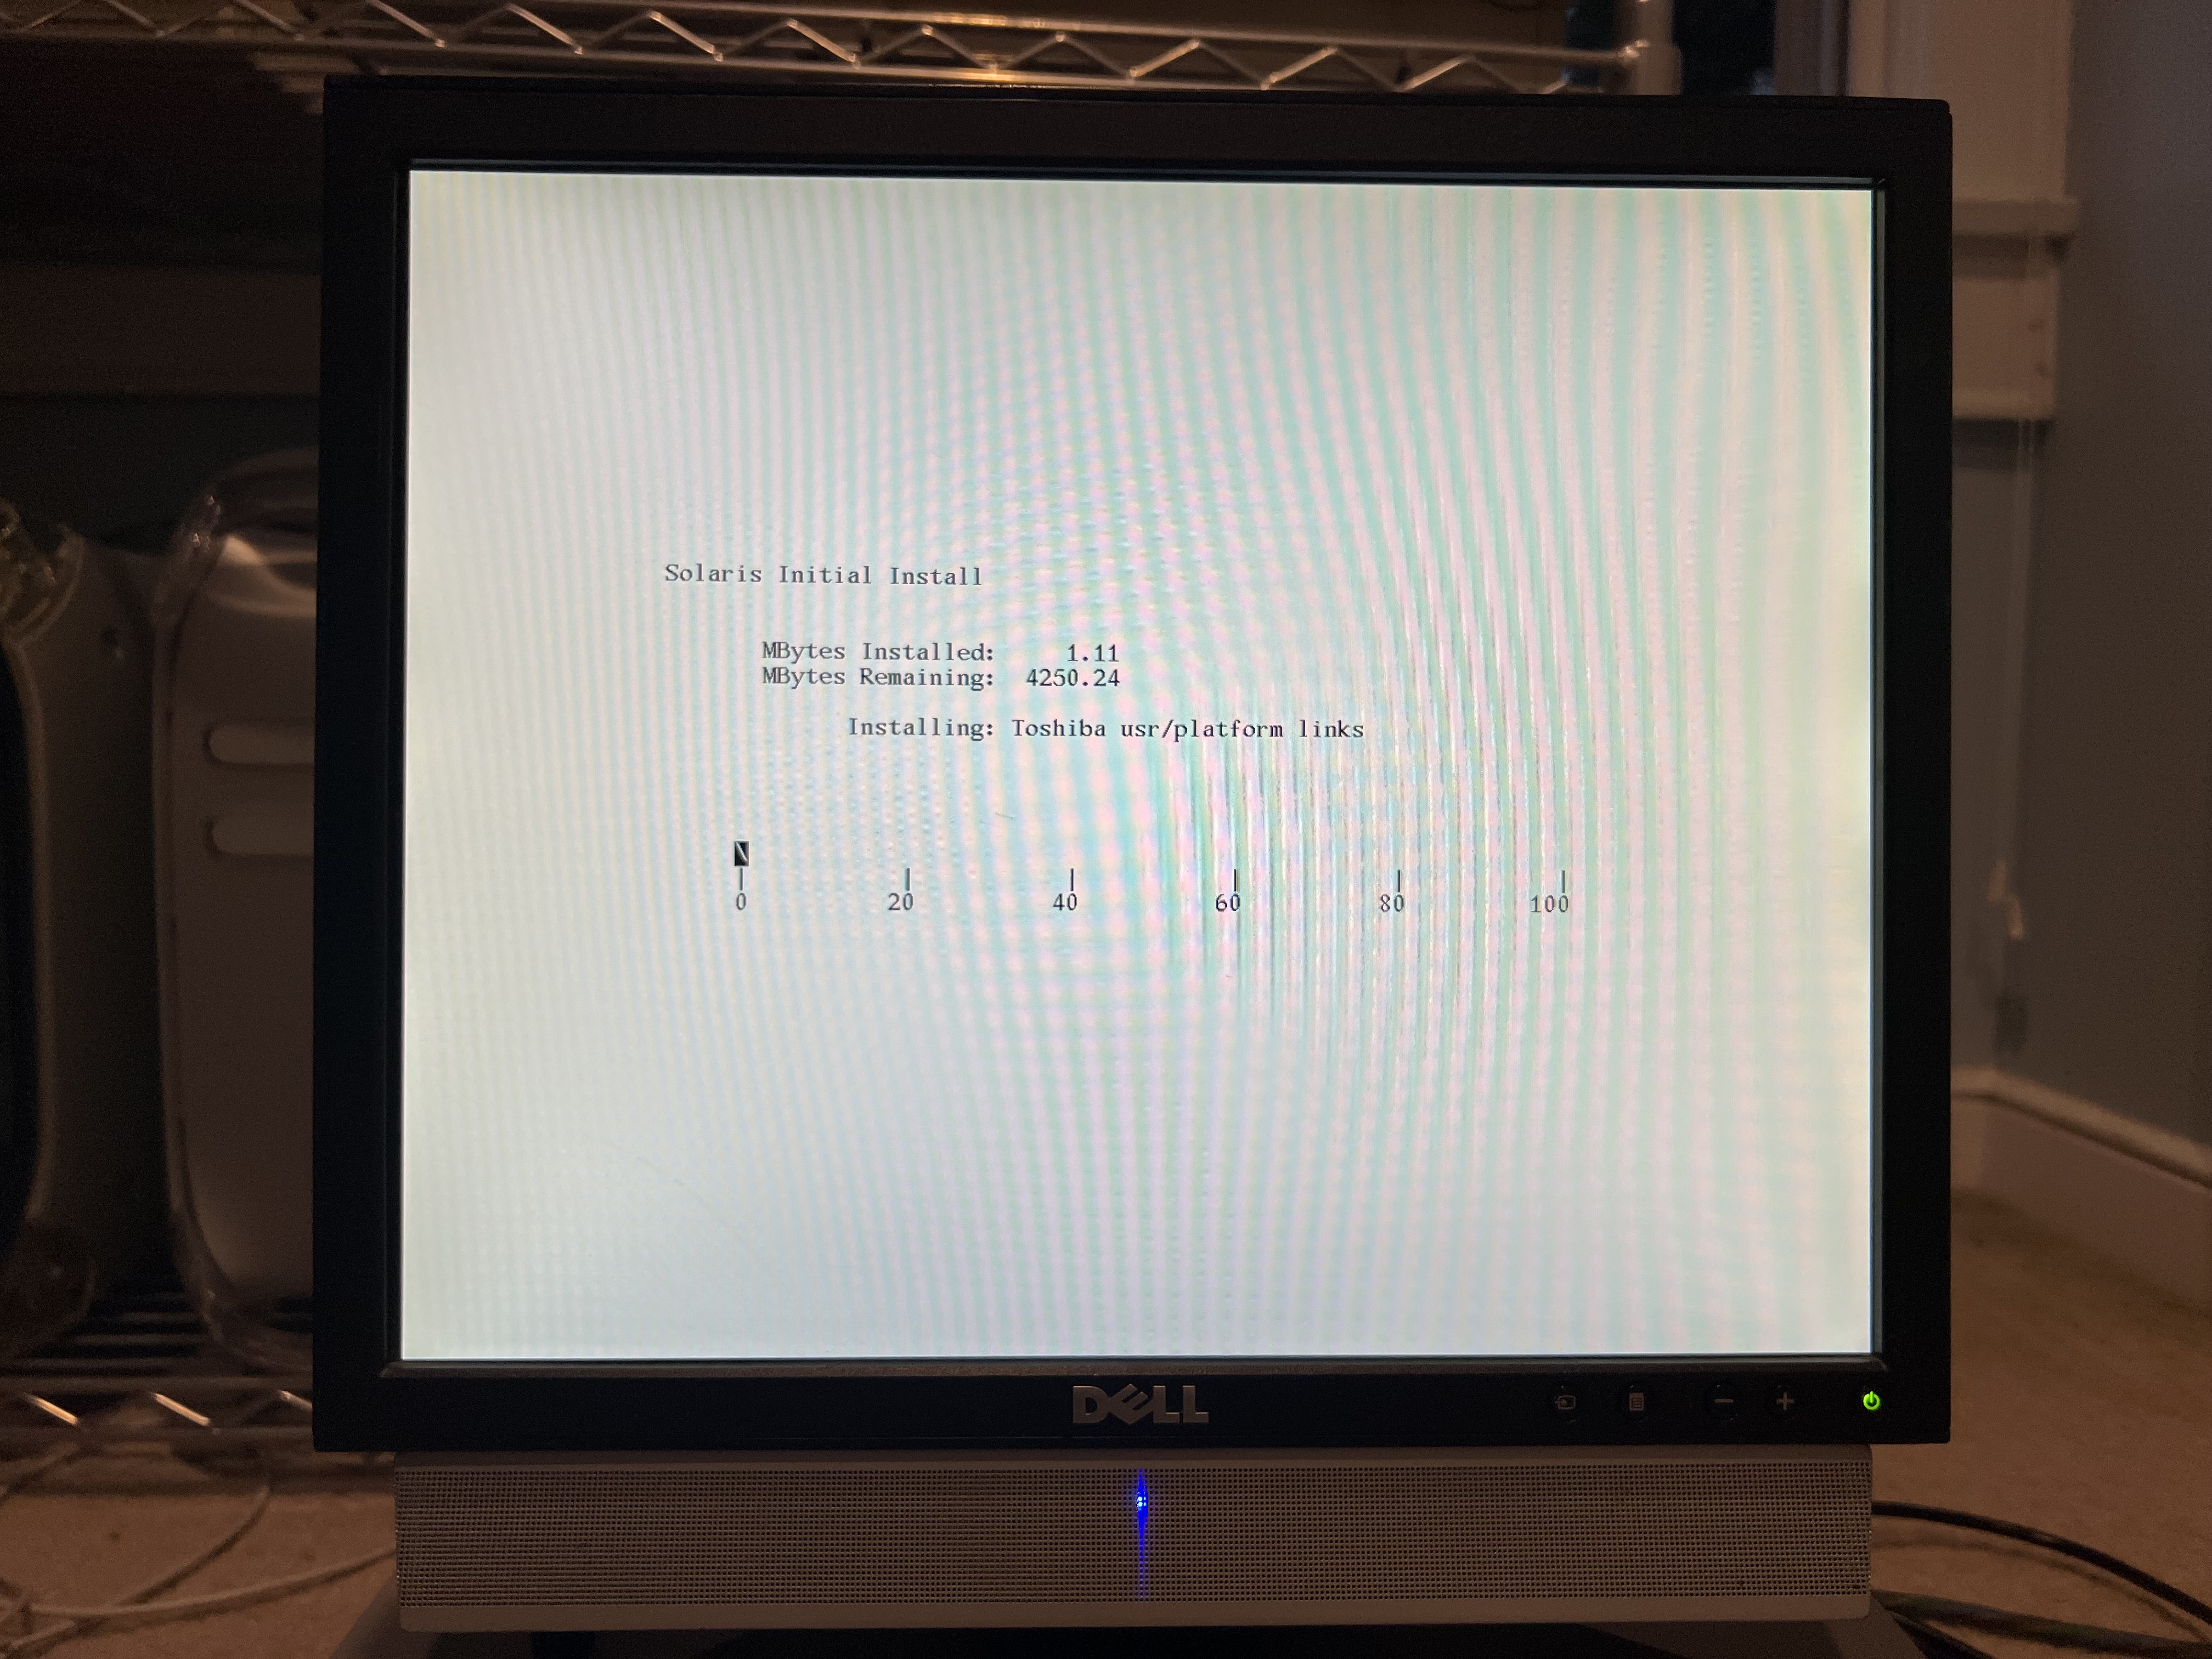
After getting it booted again, I started the install. There were a ton of pages to go through, and eventually after getting all the way through the setup it got stuck on the partitioning stage, unable to create the partitions. I waited for about half an hour but it was totally frozen. I figured this was because I was using ZFS as a filesystem, and maybe there was some incompatibility with this relatively old machine, so I shut it down and started over with UFS. And it worked!
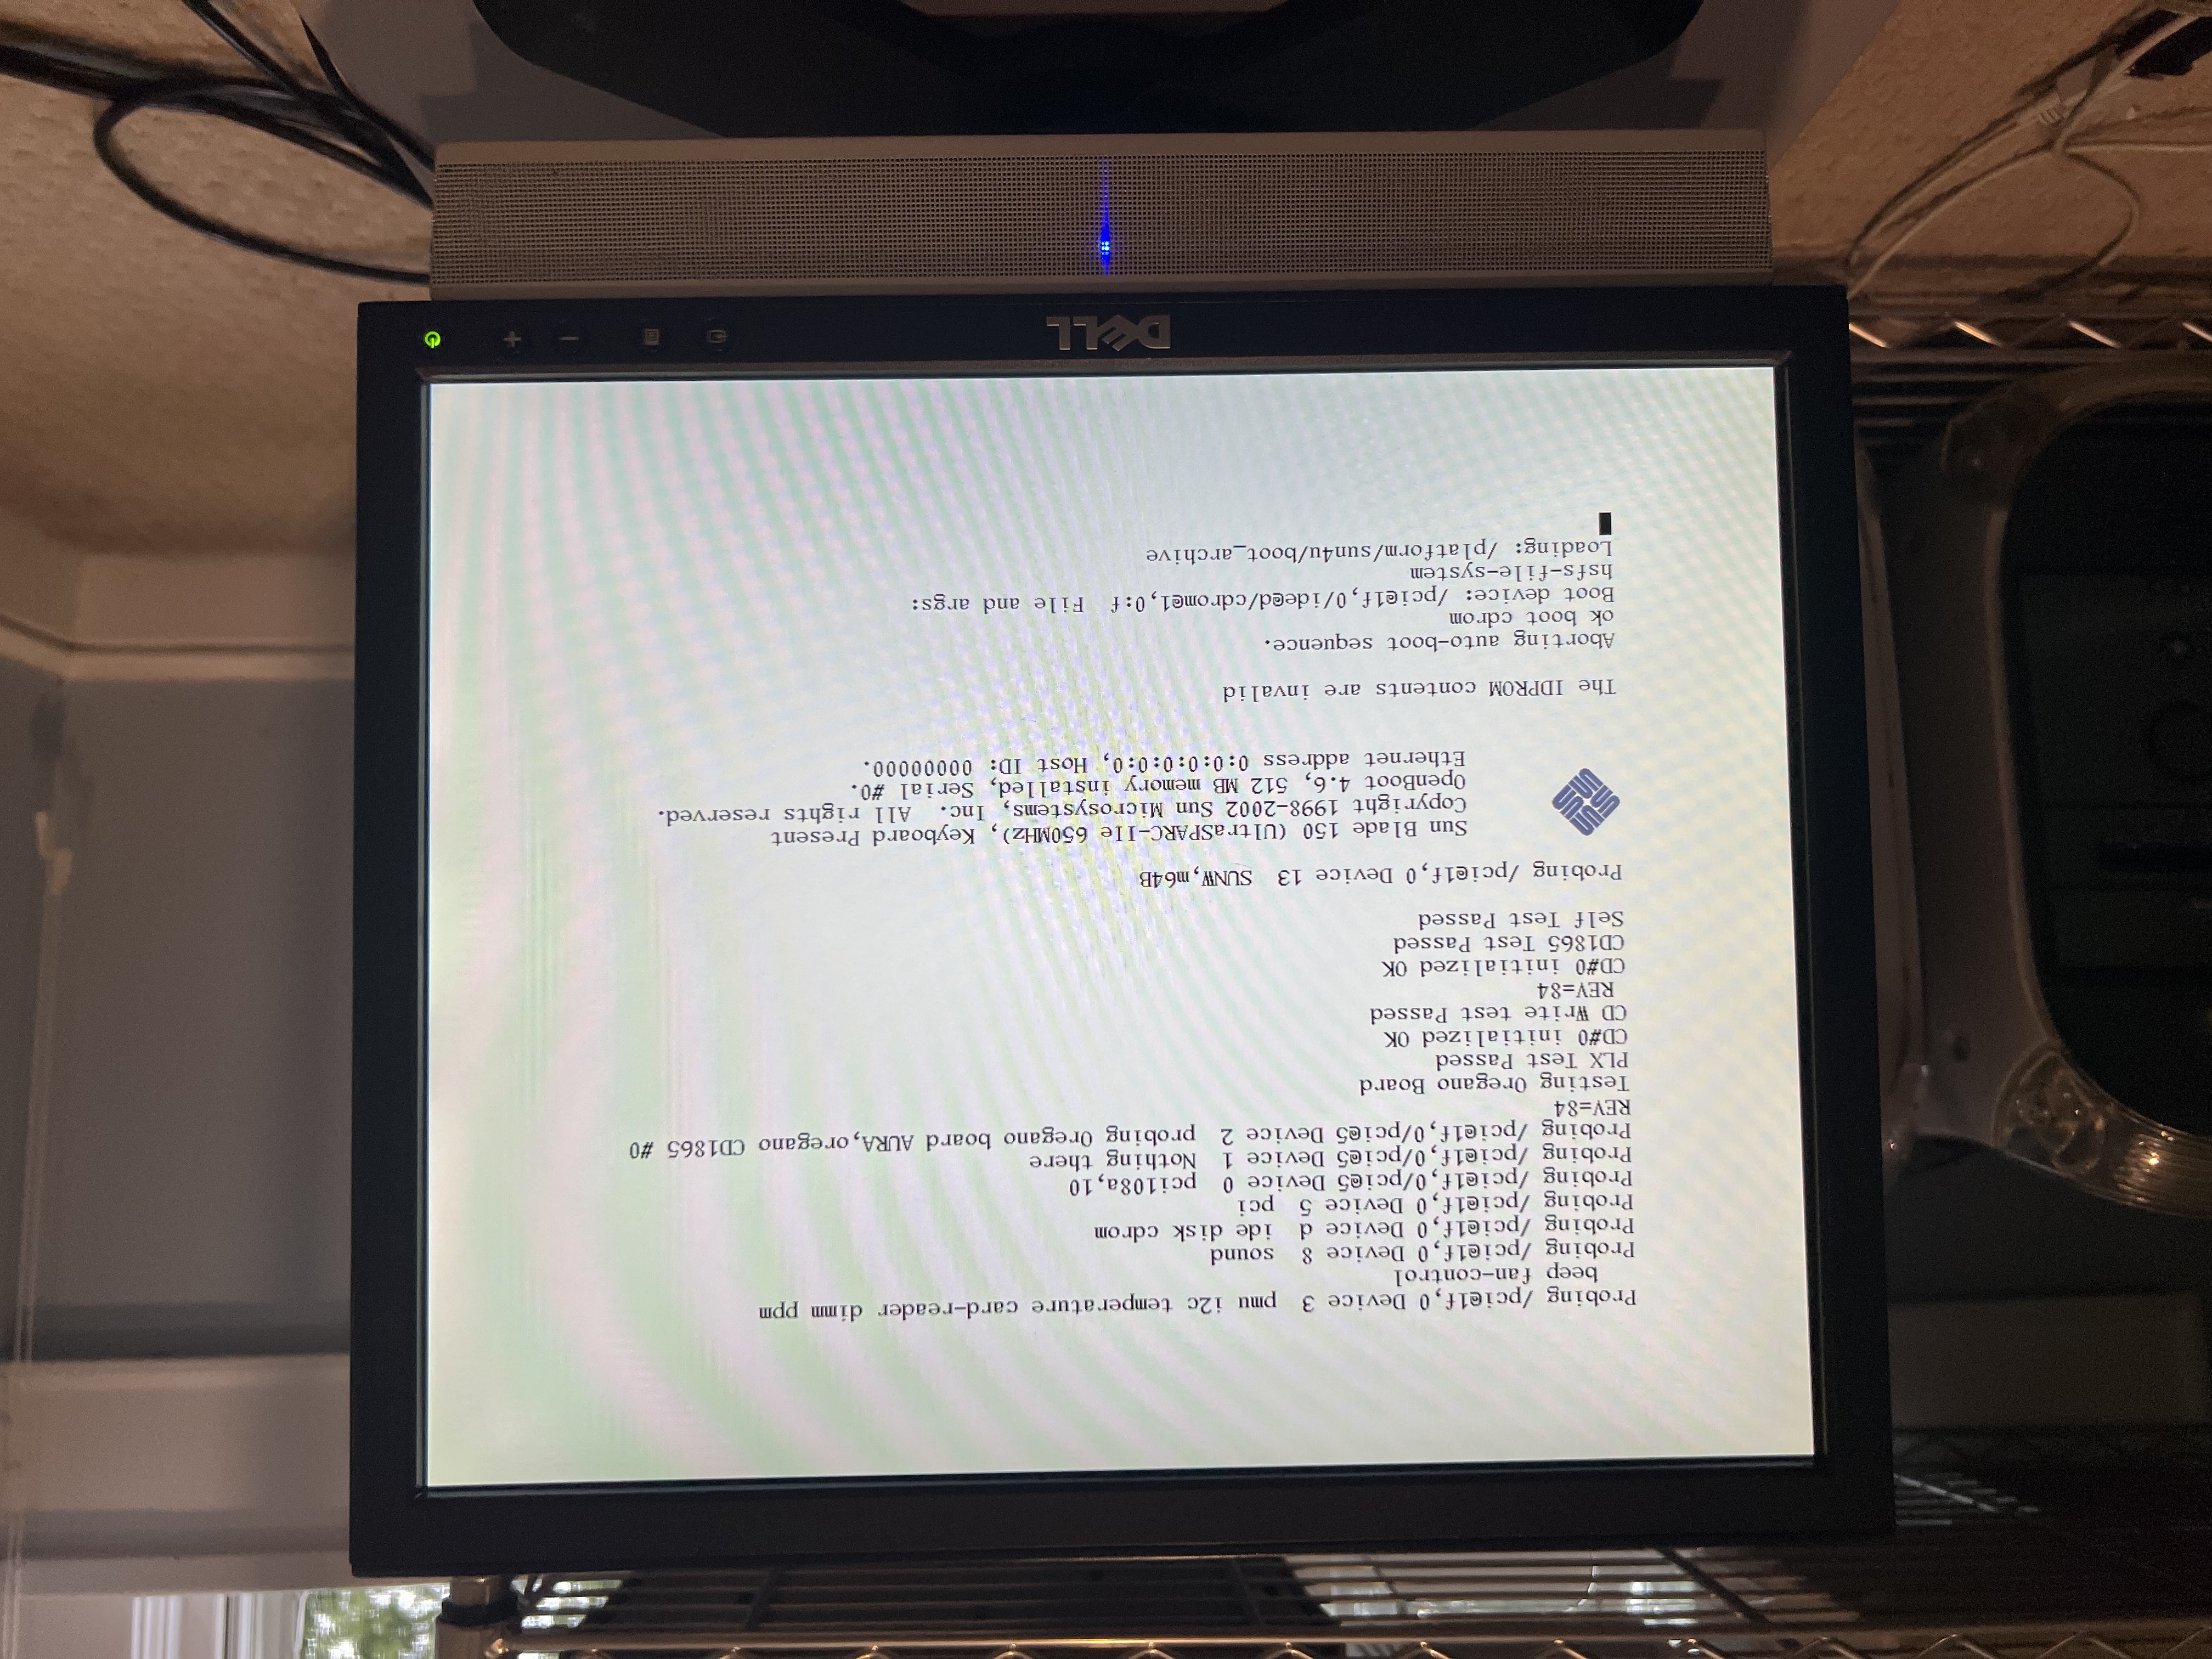
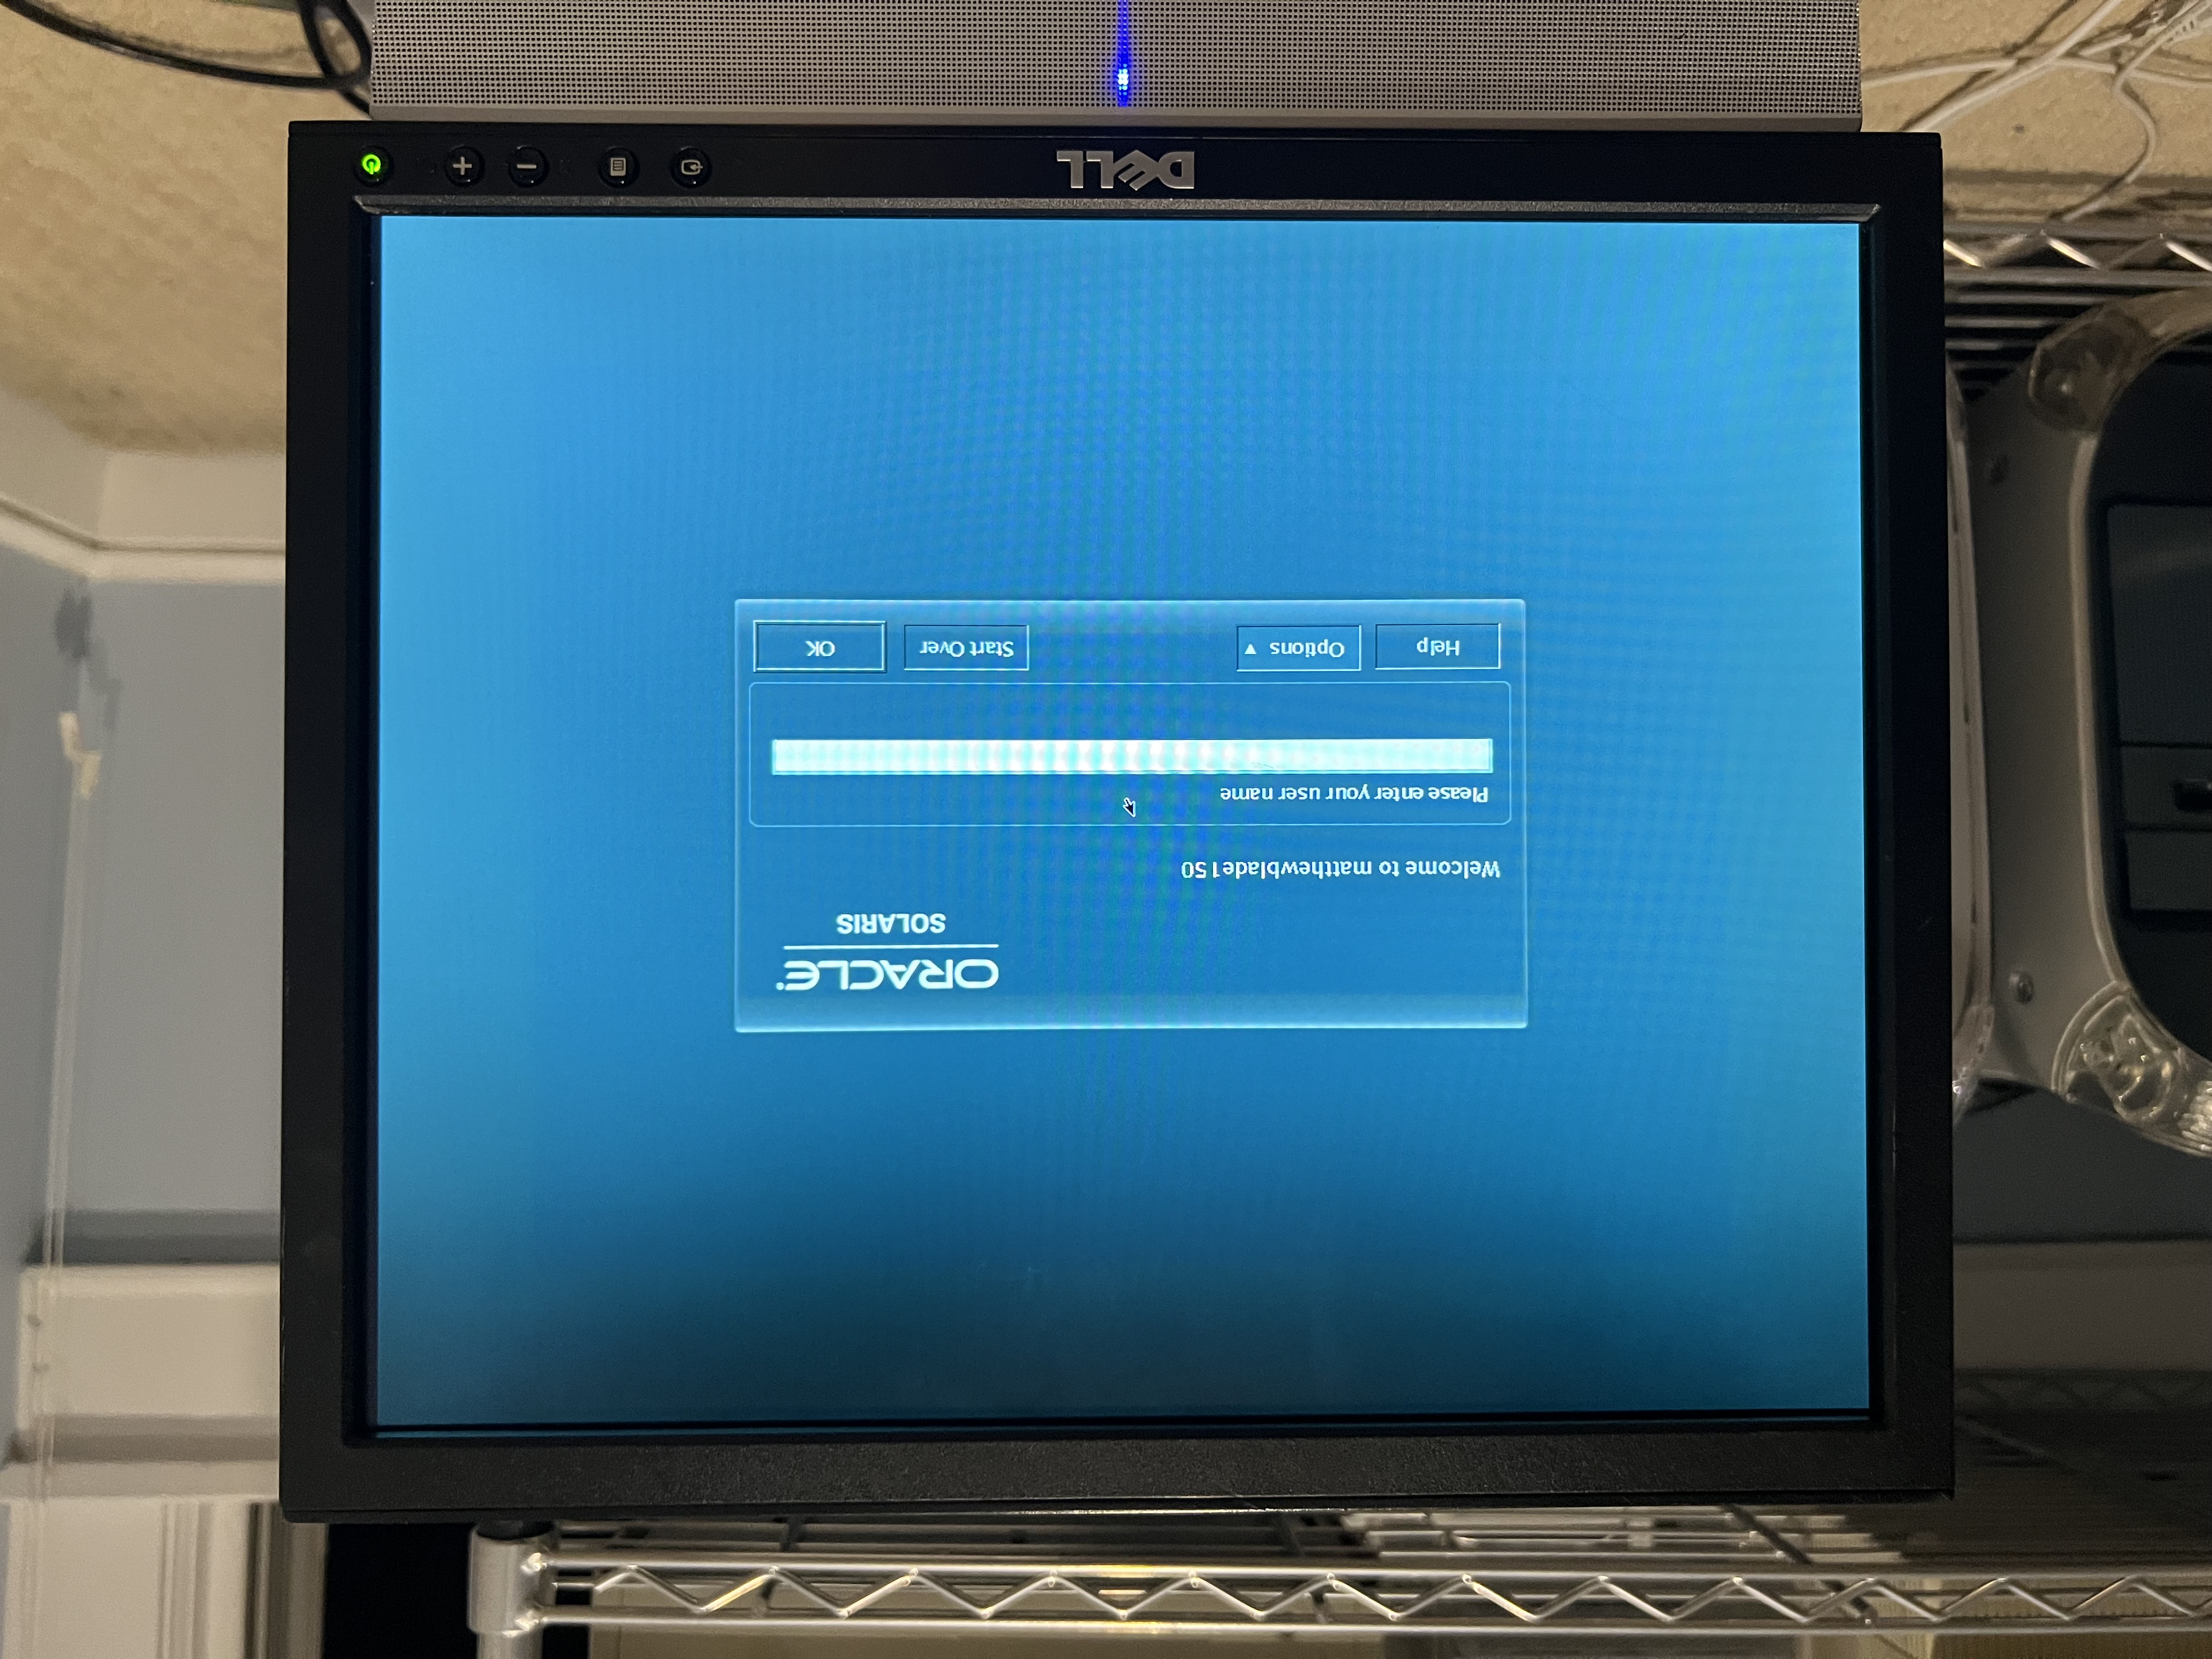
I left the room partway through the install and came back to this screen, seemingly indicating it had restarted and was now trying to boot from the network:

Upon rebooting once again, and entering “boot disk” at the Open Firmware prompt to start up from the hard drive, it began to start up. After waiting patiently, I logged into the root account.
Success!
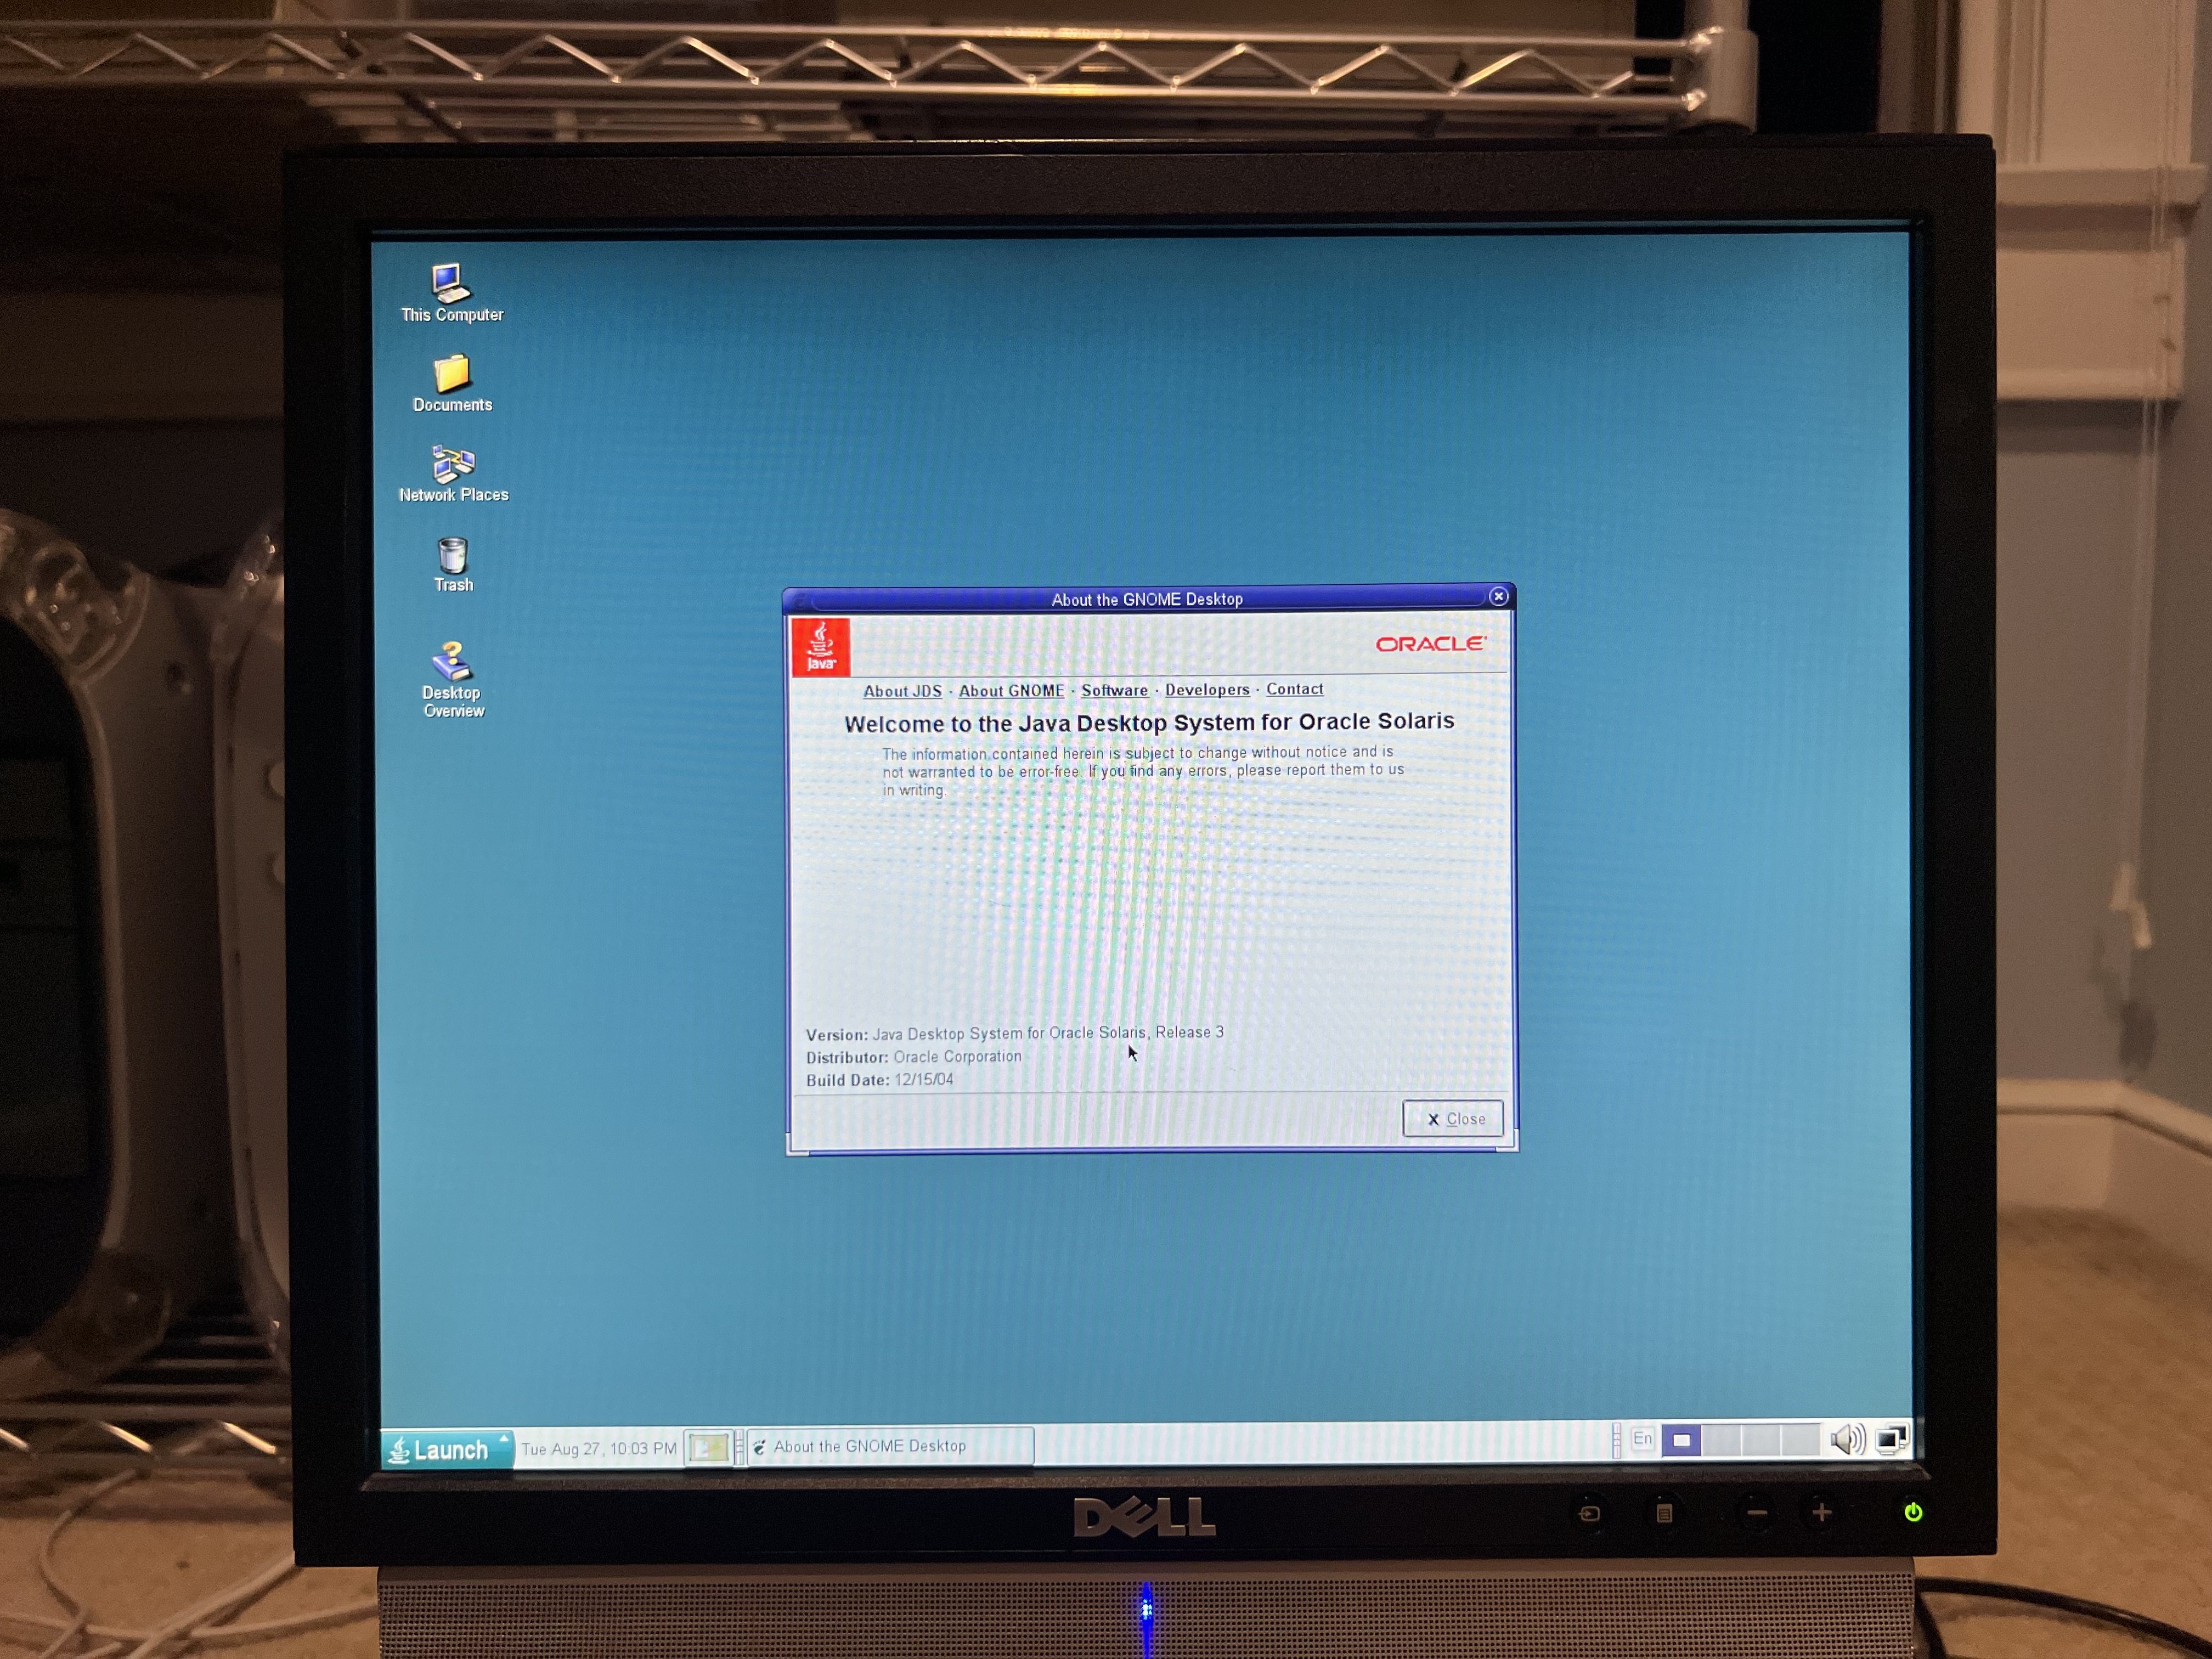
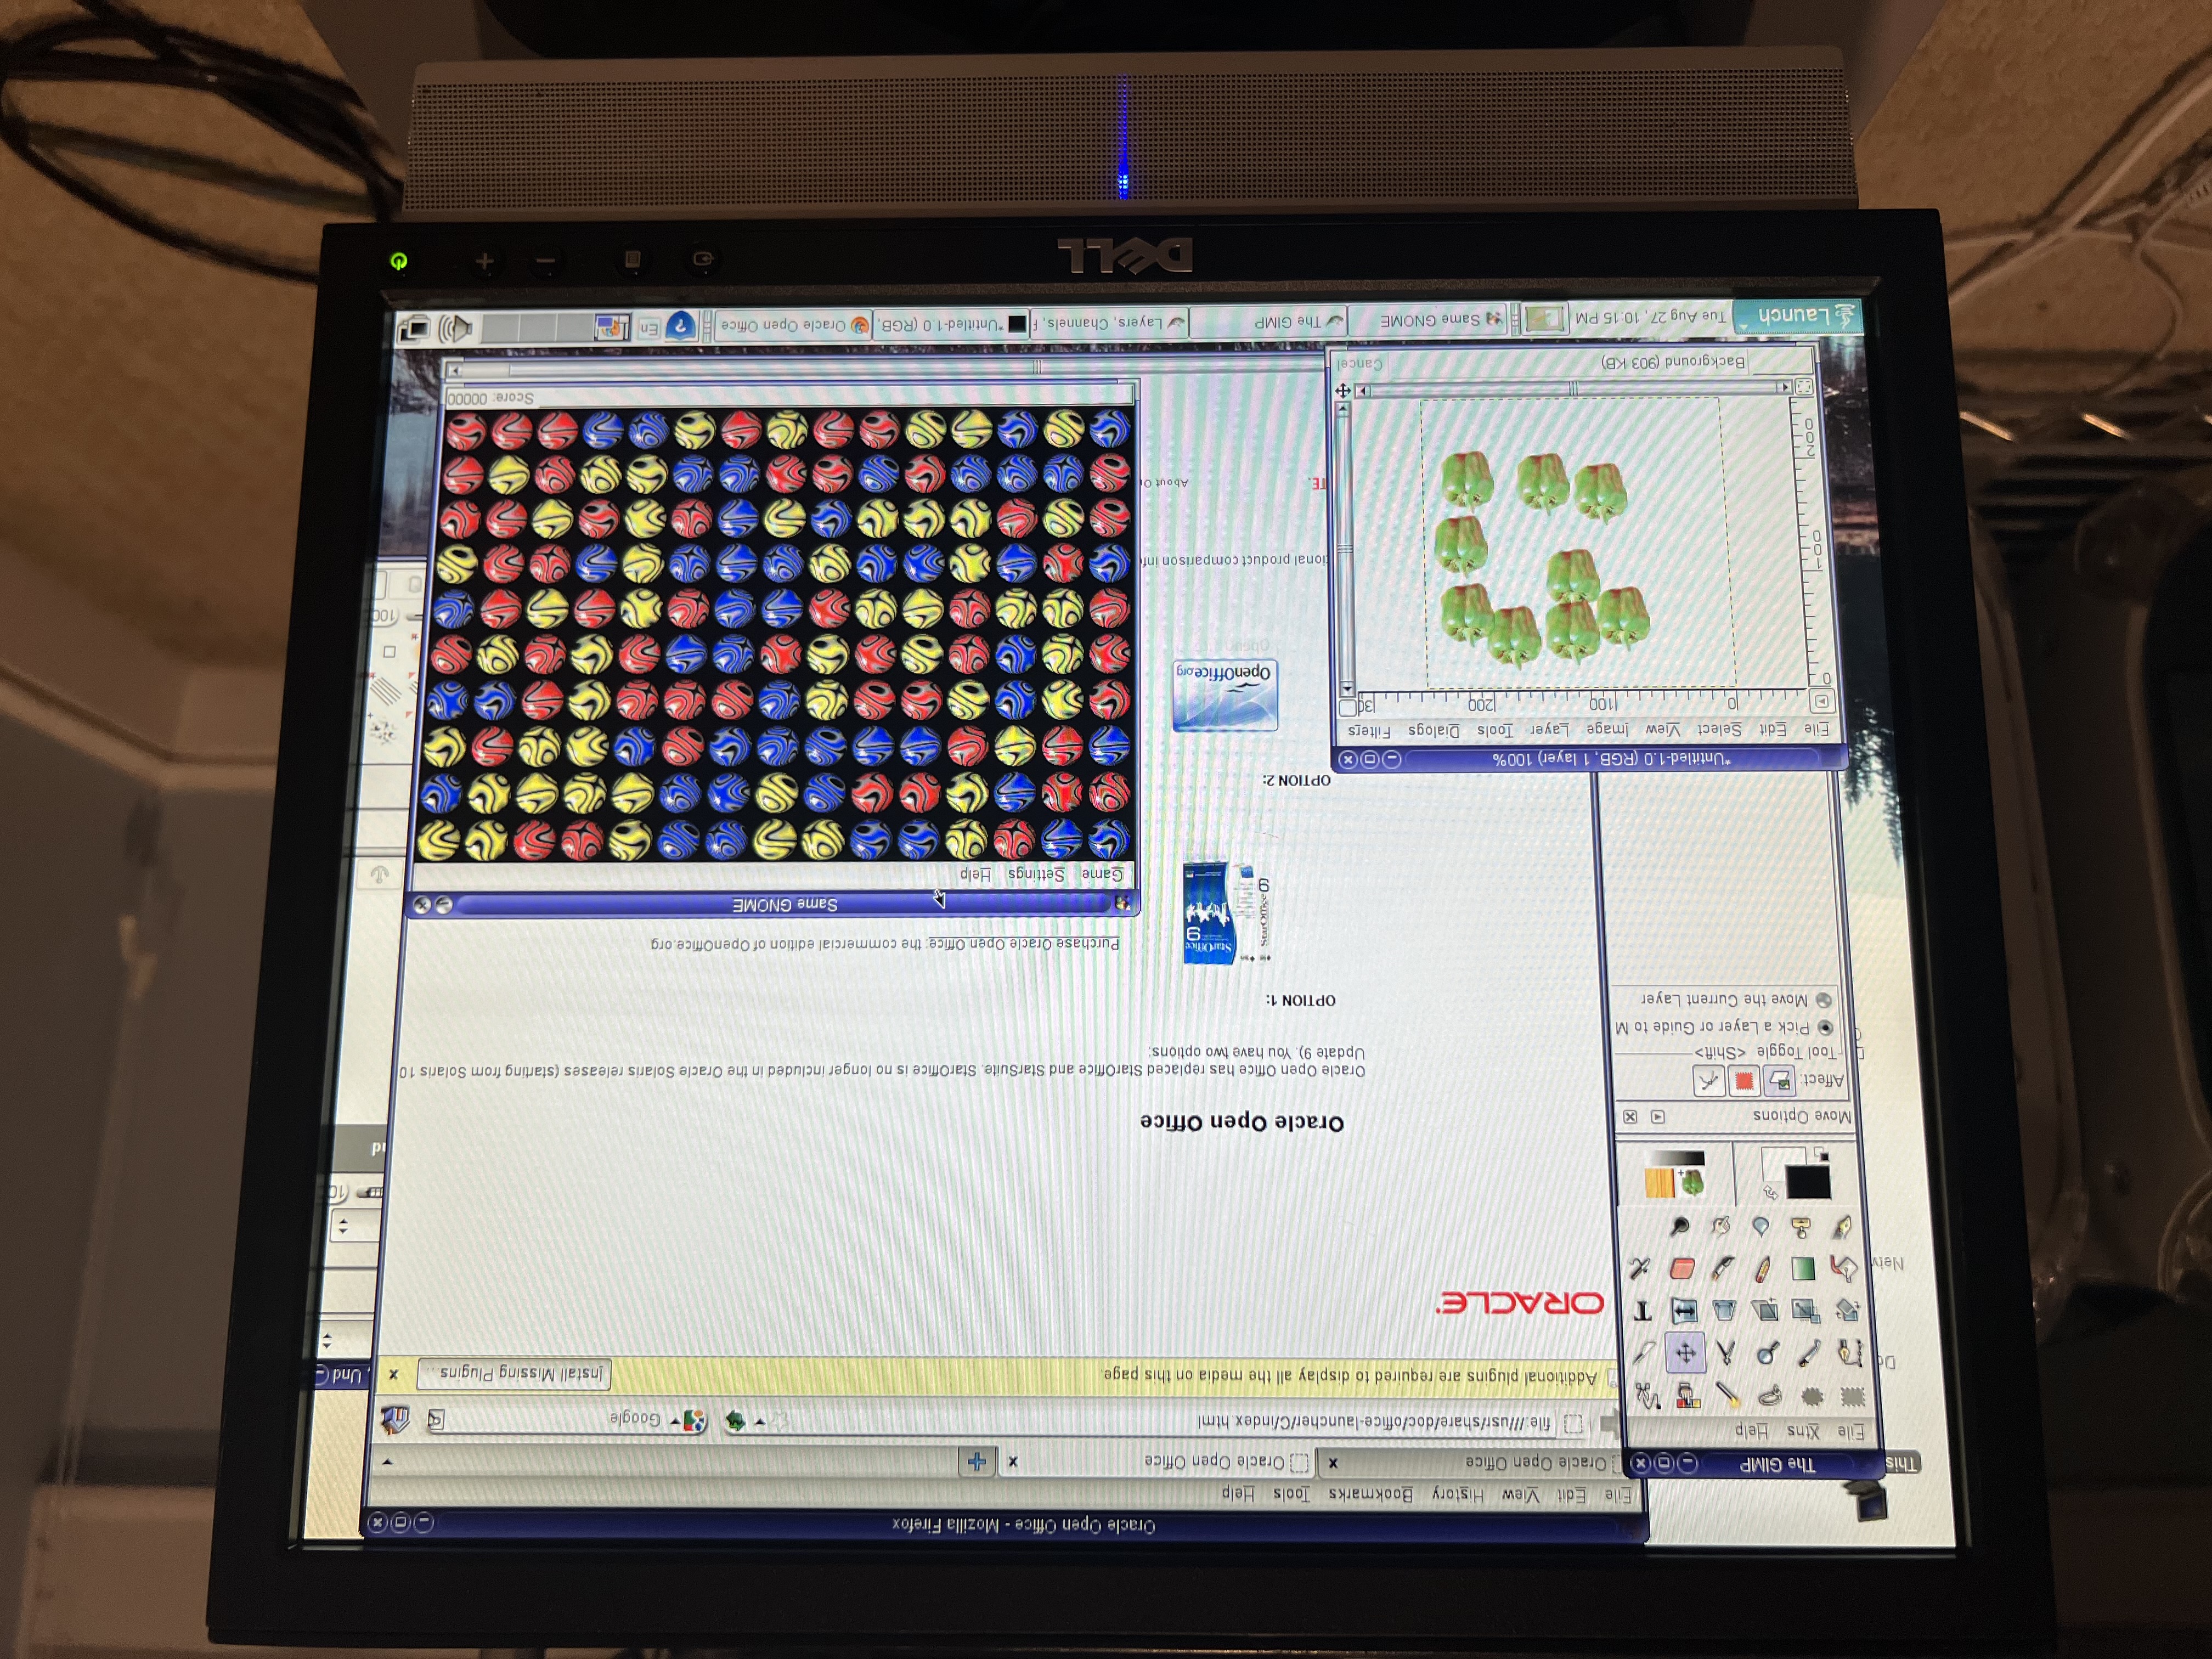
Here are a few programs running, namely Firefox and GIMP, under the default Gnome desktop environment:
Curiously, CDE (a desktop environment which was often used in the ‘90s) is still included, although it does display a warning upon startup that it will soon be deprecated:

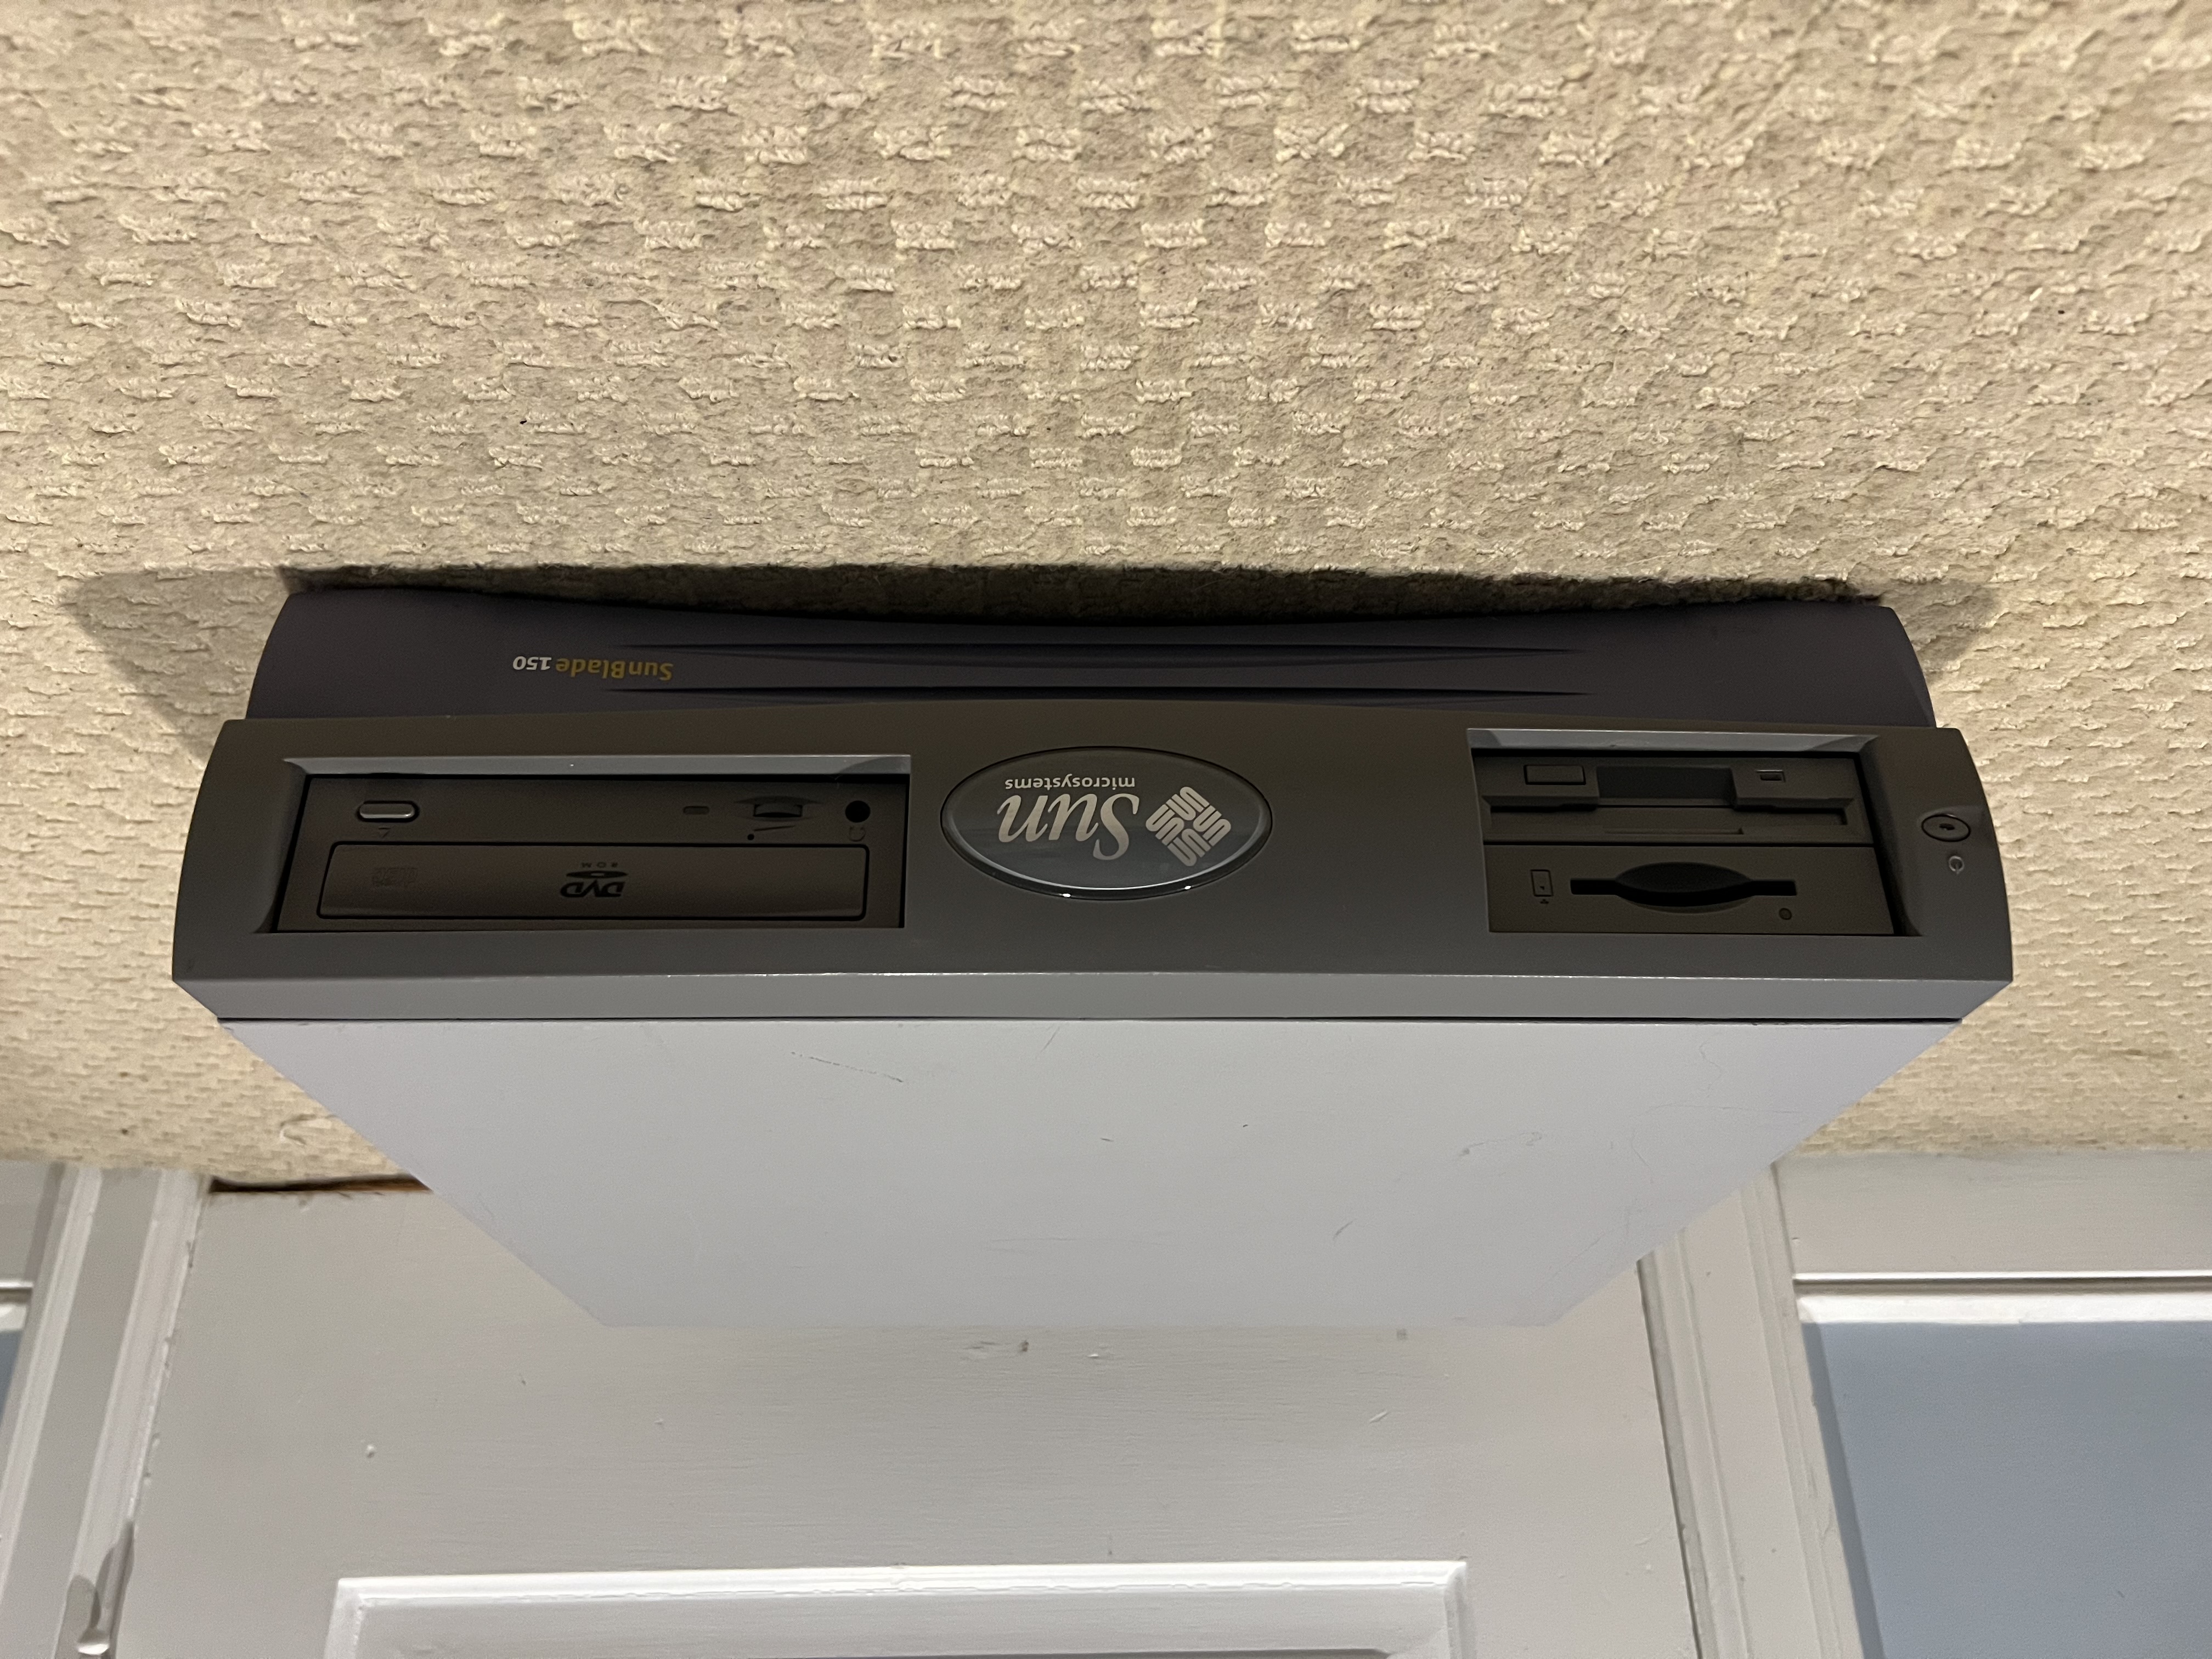
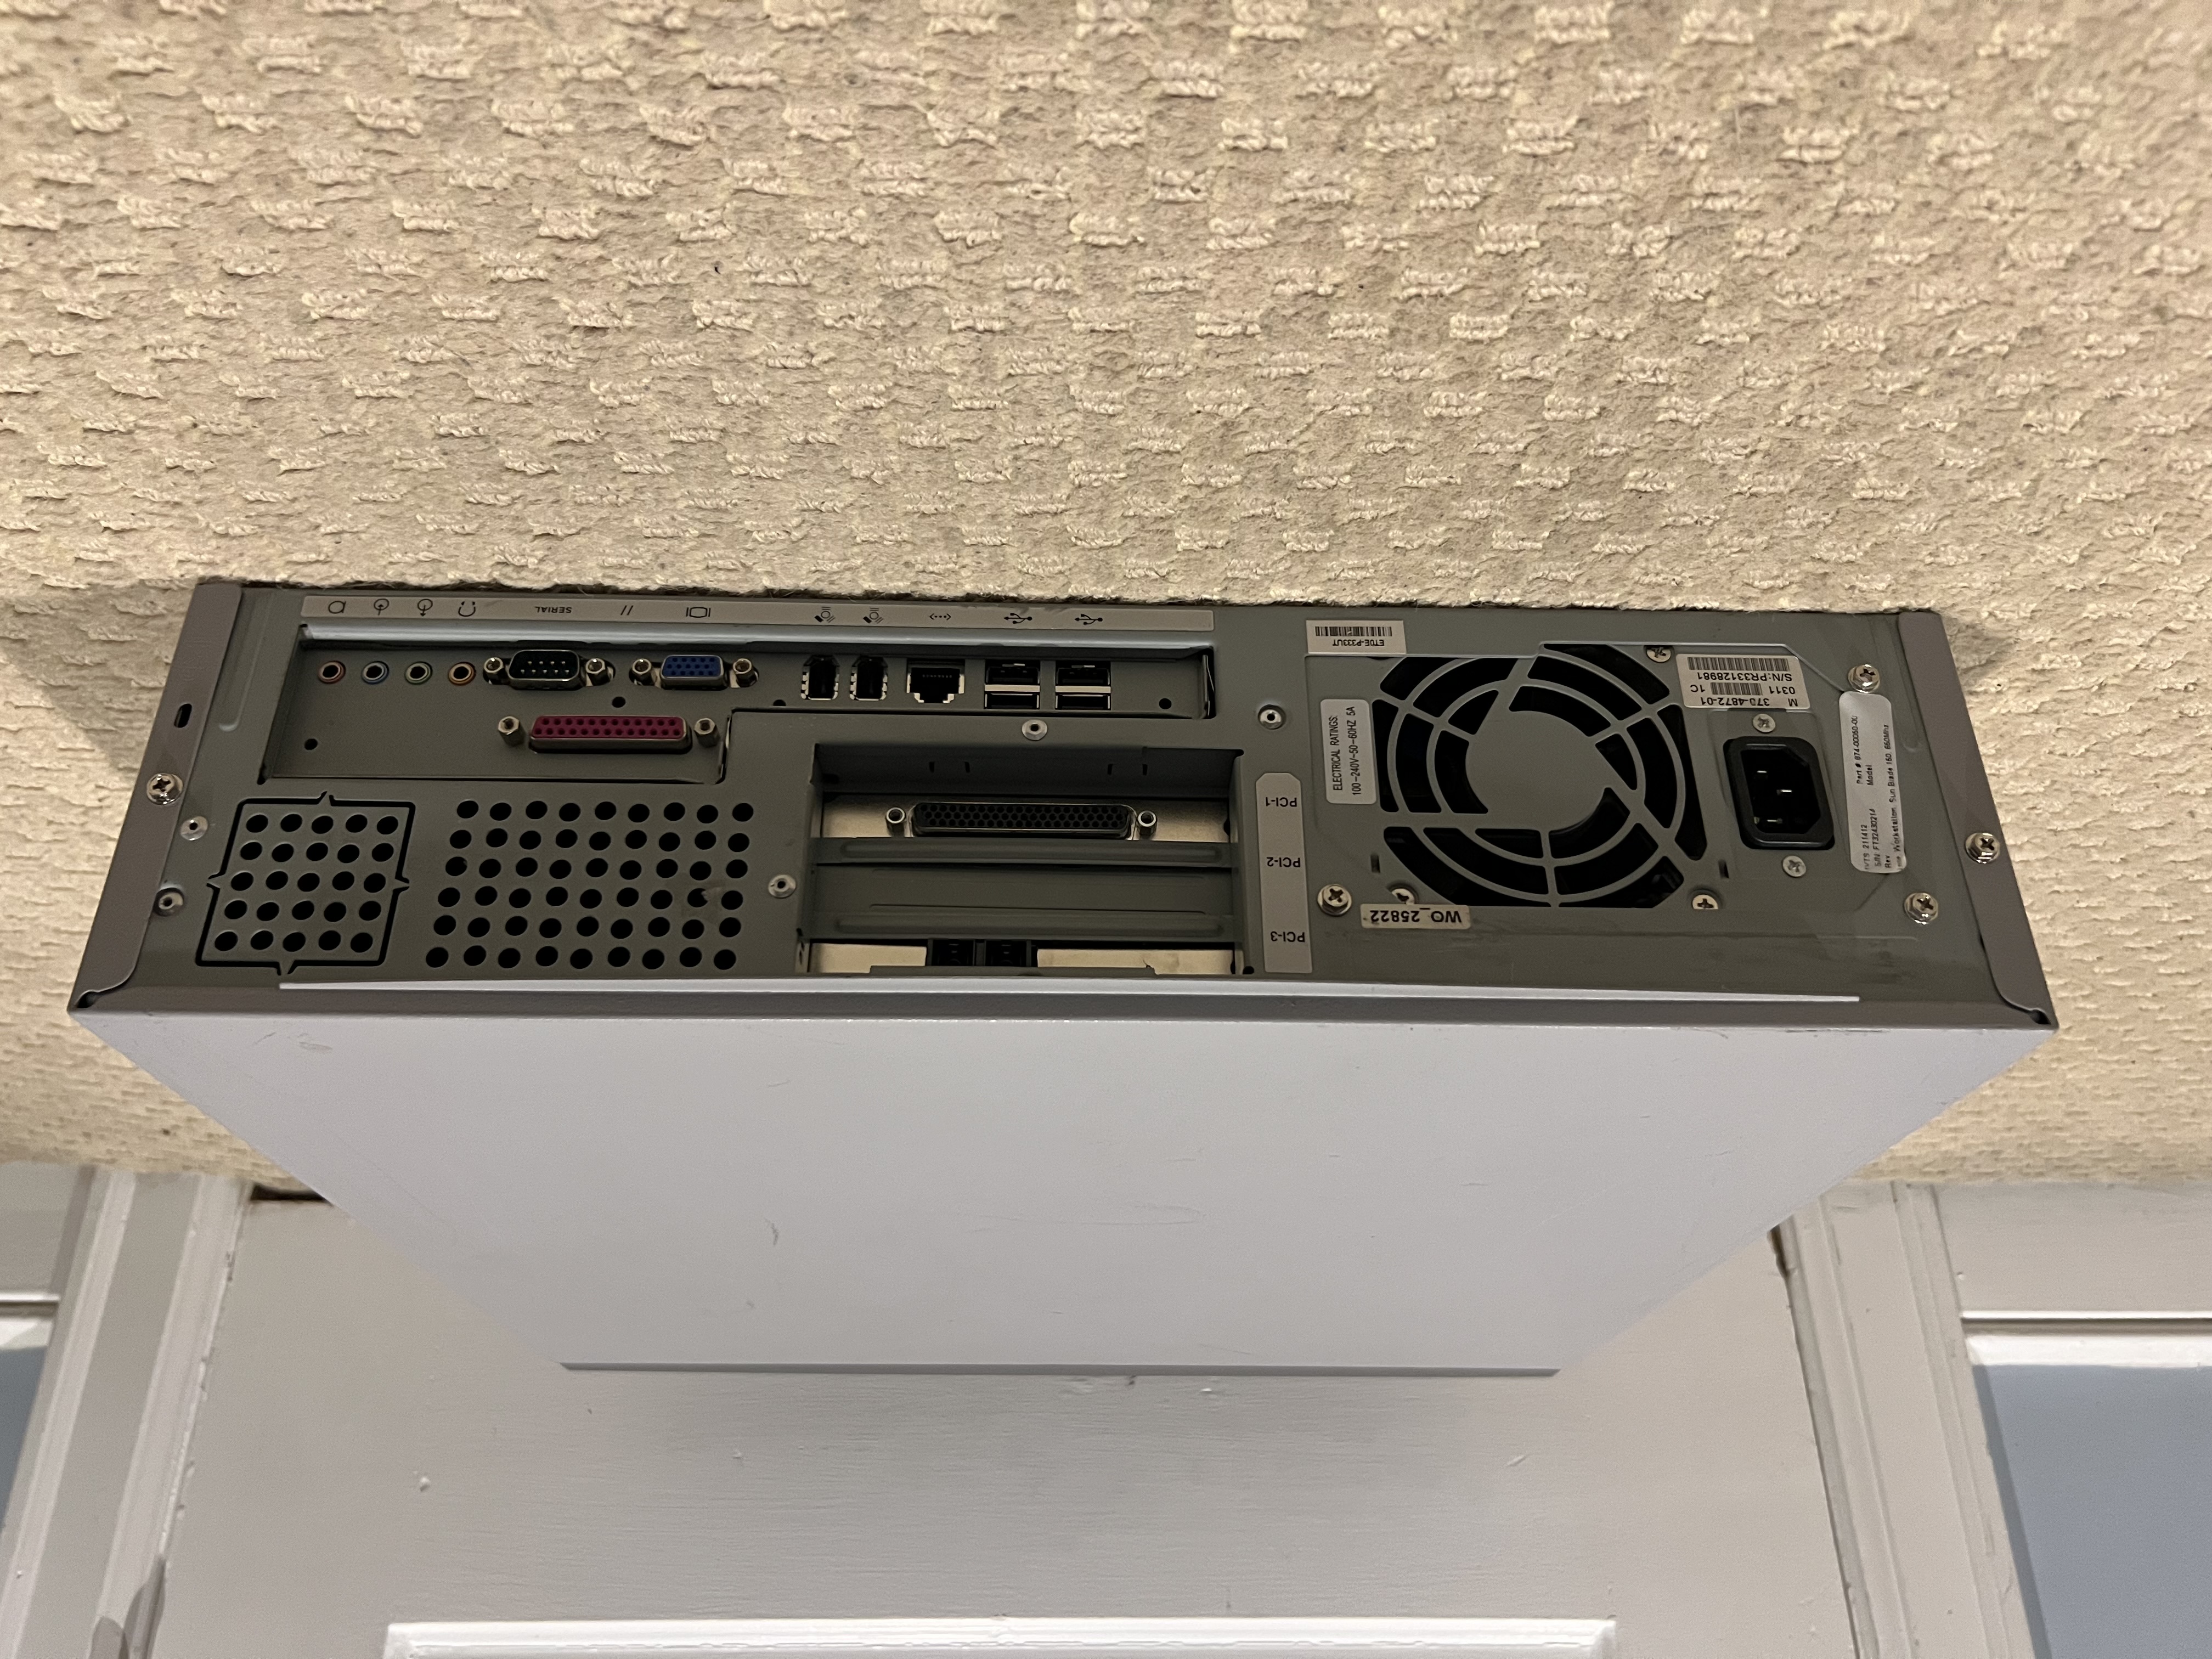
I’ll obviously do a little more in-depth setup of this machine later, as well as try some more commercial software that was avaiable for Solaris, but at this point I’m glad to have it up and running. Here are a few more photos of the workstation, showing off more of its design:
Thanks for reading this all the way through! This is my first post on this blog, but I’m excited to post more about my technology endeavors!